Why Garage Door Spring Repair is Critical for Your Home’s Safety

When a loud bang echoes from your garage, a garage door spring fix becomes an immediate priority. This isn’t just about convenience; it’s a critical issue of safety, security, and preventing costly damage to your garage door system.
Quick Answer for Garage Door Spring Repair:
- Safety First: Springs hold 200-300 lbs of force, making repairs dangerous.
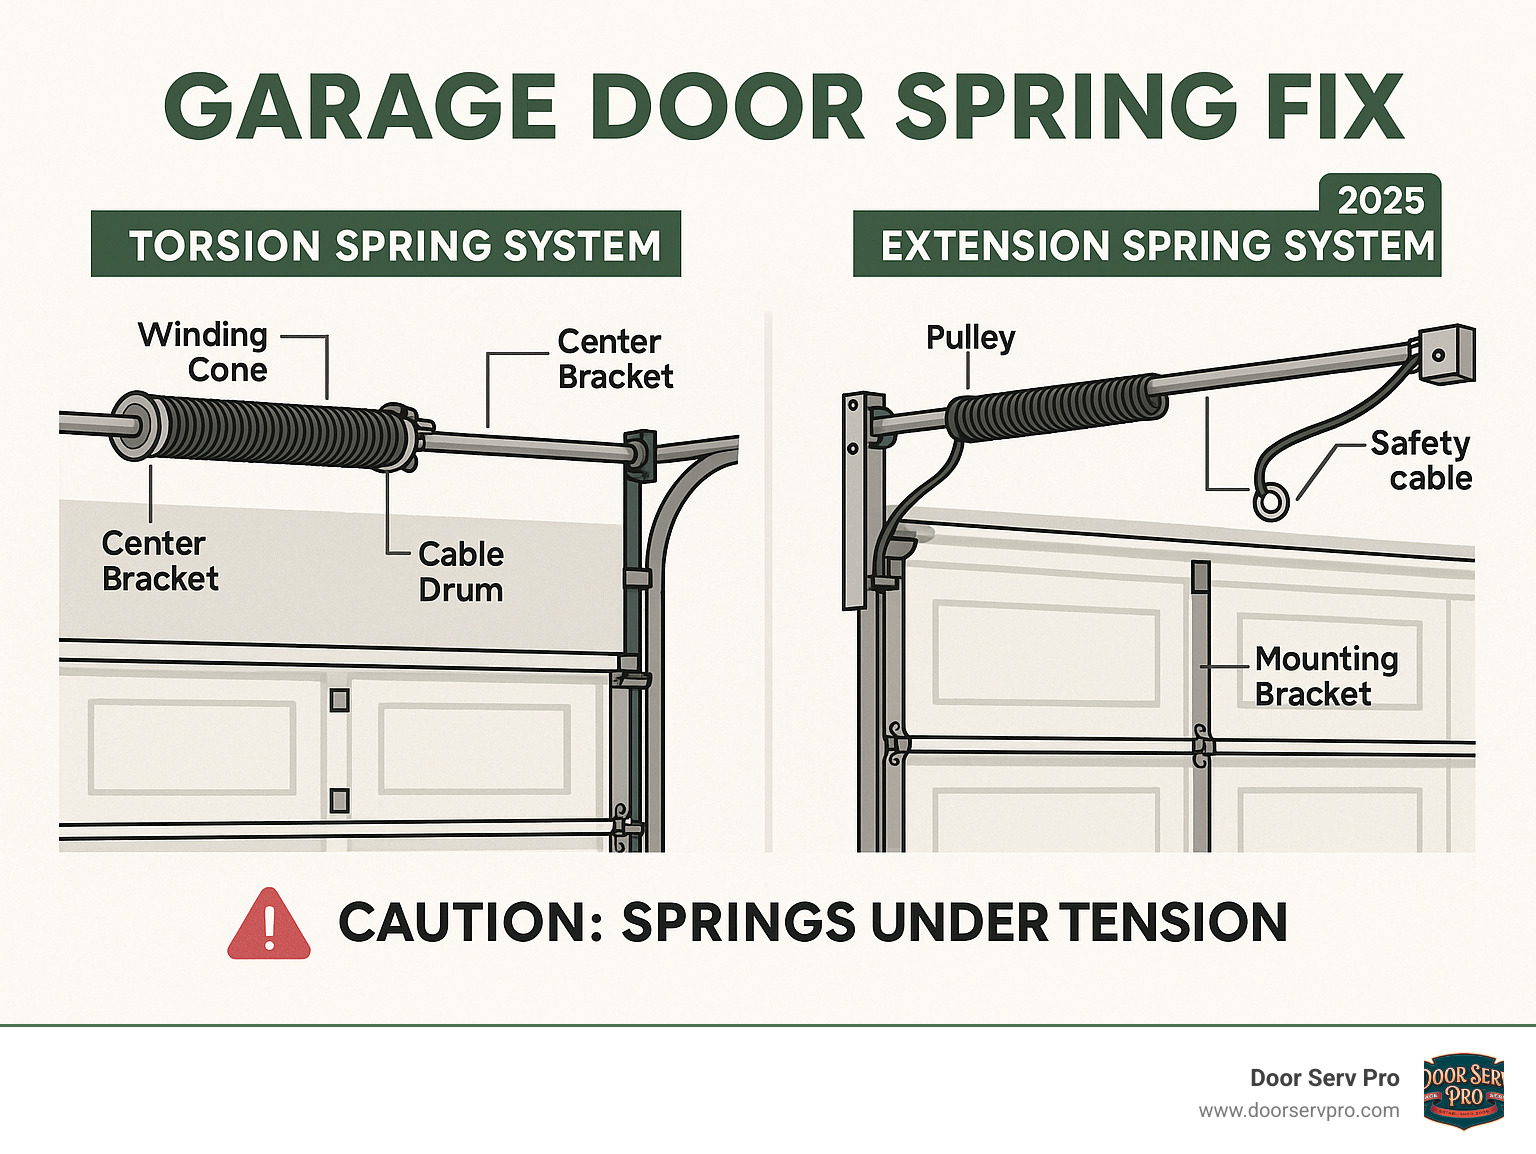
- Types: Torsion springs are above the door; extension springs are along the side tracks.
- Signs: A loud bang, a visible gap in the spring, or a door that won’t open.
- Cost: DIY parts are $50-$150; professional repair averages $200-$300.
- Risk Level: High. Professional service is strongly recommended, especially for torsion springs.
Garage door springs counterbalance the door’s weight (200-300 pounds), allowing it to be lifted manually or by an opener. Most springs are rated for 10,000 cycles (about 7-10 years). When one breaks, the door becomes dangerously heavy, and the opener can burn out from the strain.
Attempting spring repairs without proper tools and knowledge can lead to severe injury or even death. While some homeowners can safely replace extension springs, torsion springs require specialized equipment and expertise that most DIYers lack.
Is Your Garage Door Spring Broken? Diagnosis & Dangers
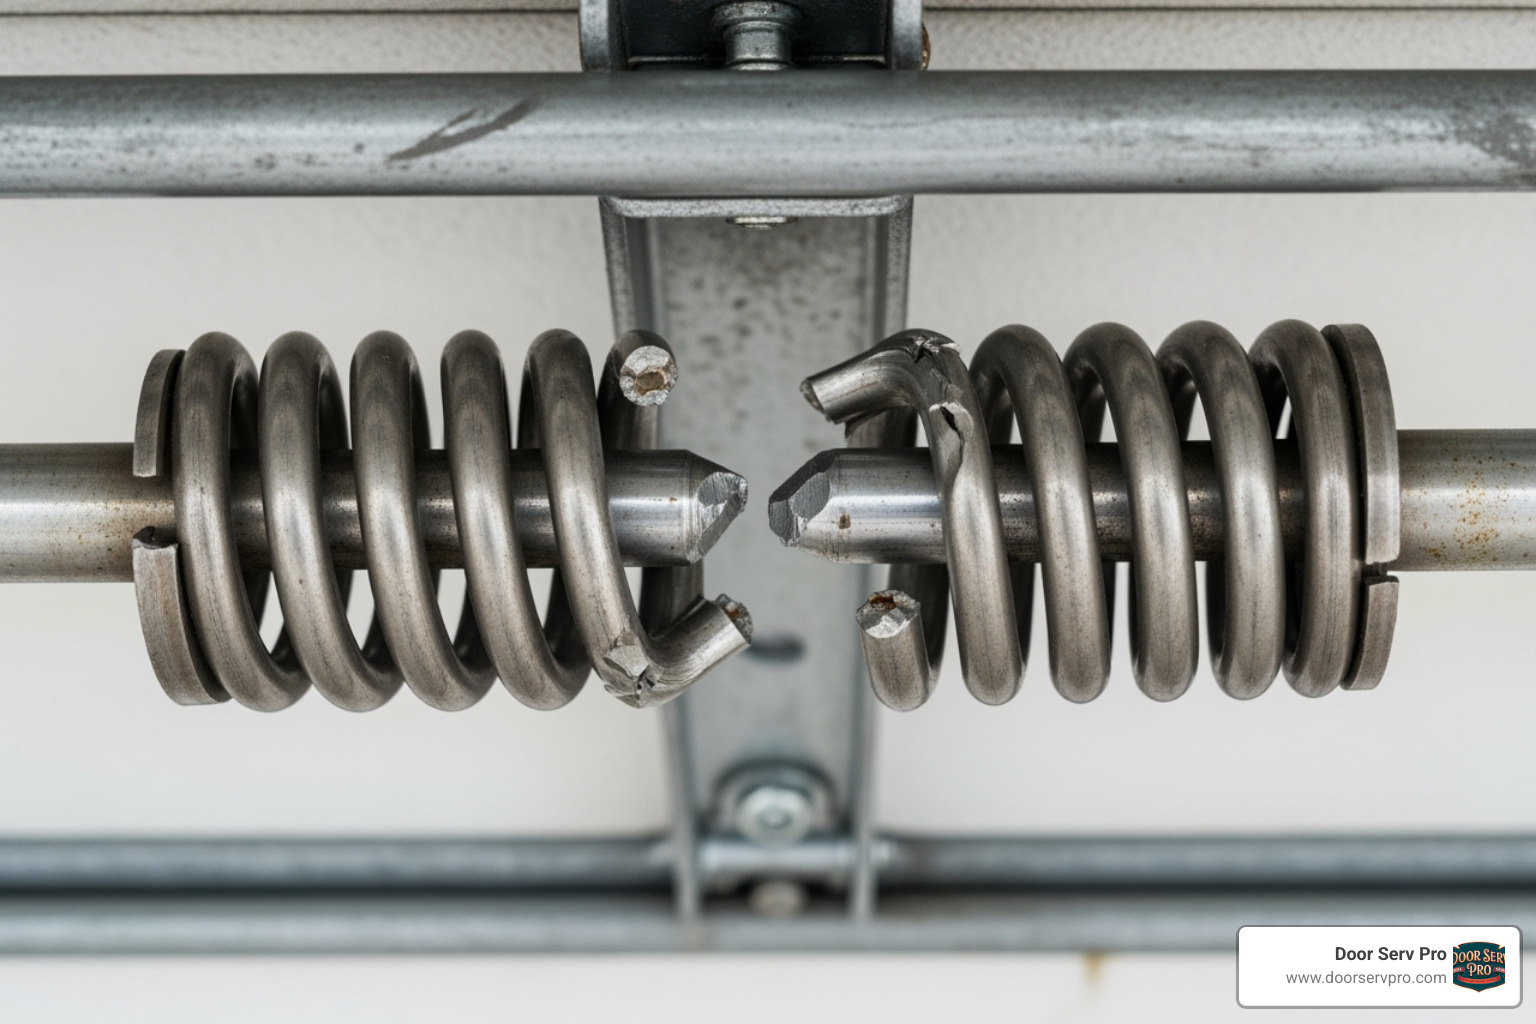
Before attempting a garage door spring fix, you must correctly diagnose the problem and understand the risks. Garage door springs are under 200 to 300 pounds of tension, making this repair one of the most dangerous for a homeowner.
Telltale Signs of a Failing Spring
Your garage door will usually show clear signs of a broken spring:
- Loud Snapping Noise: The most common sign is a sound like a gunshot from your garage.
- Visible Spring Gap: A torsion spring will have a noticeable gap in the coil. An extension spring may be hanging or separated.
- Crooked or Angled Door: If only one of two springs breaks, the door will lift unevenly.
- Door Won’t Open: The door may refuse to open or only lift a few inches before stopping.
- Heavy Manual Lifting: If you disconnect the opener, the door will feel extremely heavy. A balanced door should lift with little effort.
- Straining Opener Motor: The motor is not designed to lift the full weight of the door and will strain or burn out.
- Loose Cables: The lift cables will become slack, frayed, or detached from their drums.
The Critical Dangers of a DIY Garage Door Spring Fix
Attempting this repair without proper training and tools is extremely hazardous.
- Serious Injury: The extreme tension in the springs can cause severe cuts, broken bones, or worse if they release unexpectedly. Winding bars can become projectiles.
- Property Damage: A suddenly dropping door can crush a vehicle. A snapping spring can damage walls or ceilings.
- Incorrect Spring Size: Installing the wrong size spring will cause improper door balance, leading to premature wear on your opener and another spring failure.
- Improper Installation: Mistakes like cables coming off drums or uneven winding can cause the door to operate erratically and fail dangerously. For more details, see this technical overview of torsion spring dangers.
Understanding Spring Types: Torsion vs. Extension
Identifying your spring system is the first step.
Torsion springs are mounted on a metal shaft above the garage door. They work by twisting to store and release energy, providing a smooth, balanced lift. When a torsion spring breaks, the shaft usually contains the pieces, making it a safer system.
Extension springs run along the horizontal tracks on each side of the door. They work by stretching and contracting. When an extension spring breaks, it can fly across the garage, which is why safety containment cables are essential. They are generally cheaper but less durable than torsion springs.
Preparing for Your DIY Repair: Tools, Parts, and Measurements
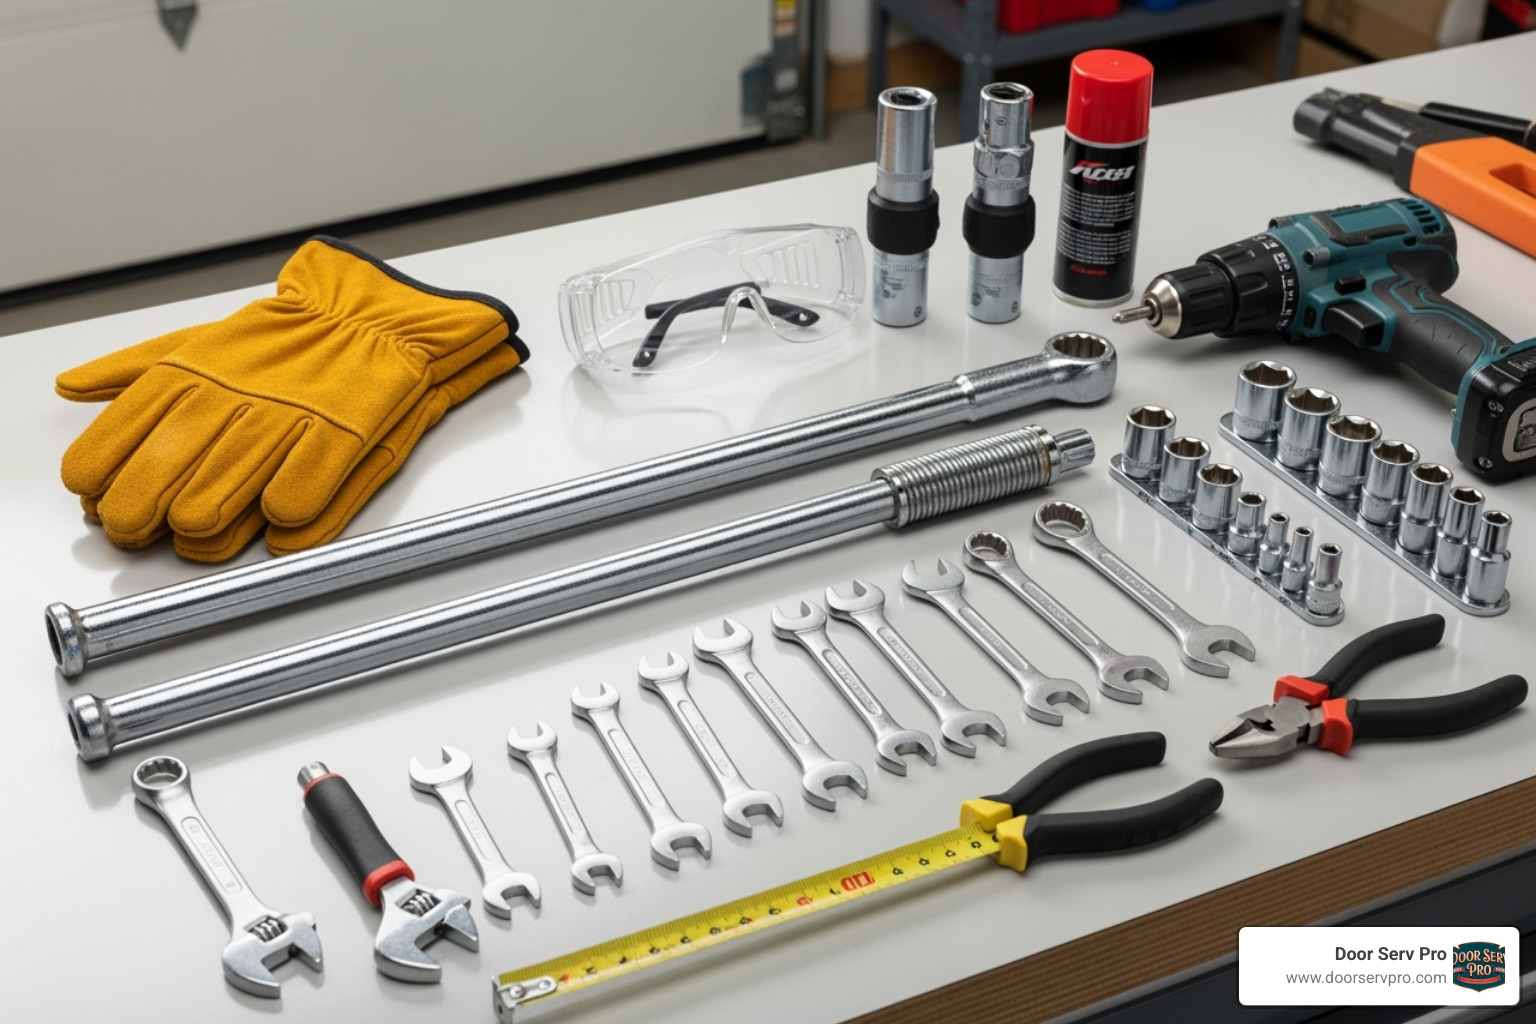
A successful DIY garage door spring fix requires the correct tools and parts. Using improper equipment is the primary cause of accidents during this repair.
Essential Tools and Safety Gear
- Hardened-Steel Winding Bars: These are non-negotiable for torsion springs. They must be at least 18 inches long and fit the winding cones perfectly. Never substitute screwdrivers or other tools.
- Socket and Wrench Set: You will likely need 7/16″, 9/16″, and 10mm sockets and wrenches.
- C-Clamps or Locking Pliers: Crucial for securing the garage door in place.
- Safety Gear: Safety glasses and heavy-duty gloves are mandatory to protect from flying debris and sharp edges.
- Other Tools: A sturdy ladder, measuring tape, and a permanent marker are also necessary.
How to Measure and Order the Right Replacement Springs
Accurate measurements are critical for proper door balance. Using the wrong springs is dangerous and will cause the system to fail.
- Wire Size: Count 20 coils on your spring and measure the total length. Divide by 20 to get the wire diameter (e.g., 4 inches / 20 coils = 0.200 wire size).
- Inside Diameter: Measure the inside diameter of the spring, which is typically 1.75″ or 2″.
- Spring Length: Measure the length of the unwound spring from end to end.
- Wind Direction: From inside the garage, a left-wound spring’s coils go up to the left; a right-wound spring’s coils go up to the right.
Once you have these measurements, you can find the correct parts from online parts suppliers.
Choosing Your Springs: Standard vs. High-Cycle
- Standard Springs: Rated for 10,000 cycles (one open/close), lasting about 7-10 years for most families.
- High-Cycle Springs: Rated for 25,000+ cycles, they cost more but can triple the spring’s lifespan. They are a good investment for high-use garages.
- Material: Oil-tempered springs are standard. Galvanized springs have a coating that resists corrosion, ideal for humid climates like those in WV, VA, PA, and MD.
Essential Safety Components
- Safety Containment Cables: These are absolutely required for extension spring systems. They run through the spring and prevent it from becoming a projectile if it breaks.
- Premium Lift Cables: Upgrading to 7×19 aircraft-grade cables provides greater durability and safety over standard versions.
The Step-by-Step Guide to Your Garage Door Spring Fix
This guide details the process for a garage door spring fix. If you are not 100% confident, especially with torsion springs, call a professional. Safety is the top priority.
Critical Safety Precautions Before You Begin
Do not skip any of these steps.
- Unplug the Garage Door Opener: Disconnect it from the power source or turn off the circuit breaker.
- Disengage the Opener: Pull the red emergency release cord to disconnect the opener from the door.
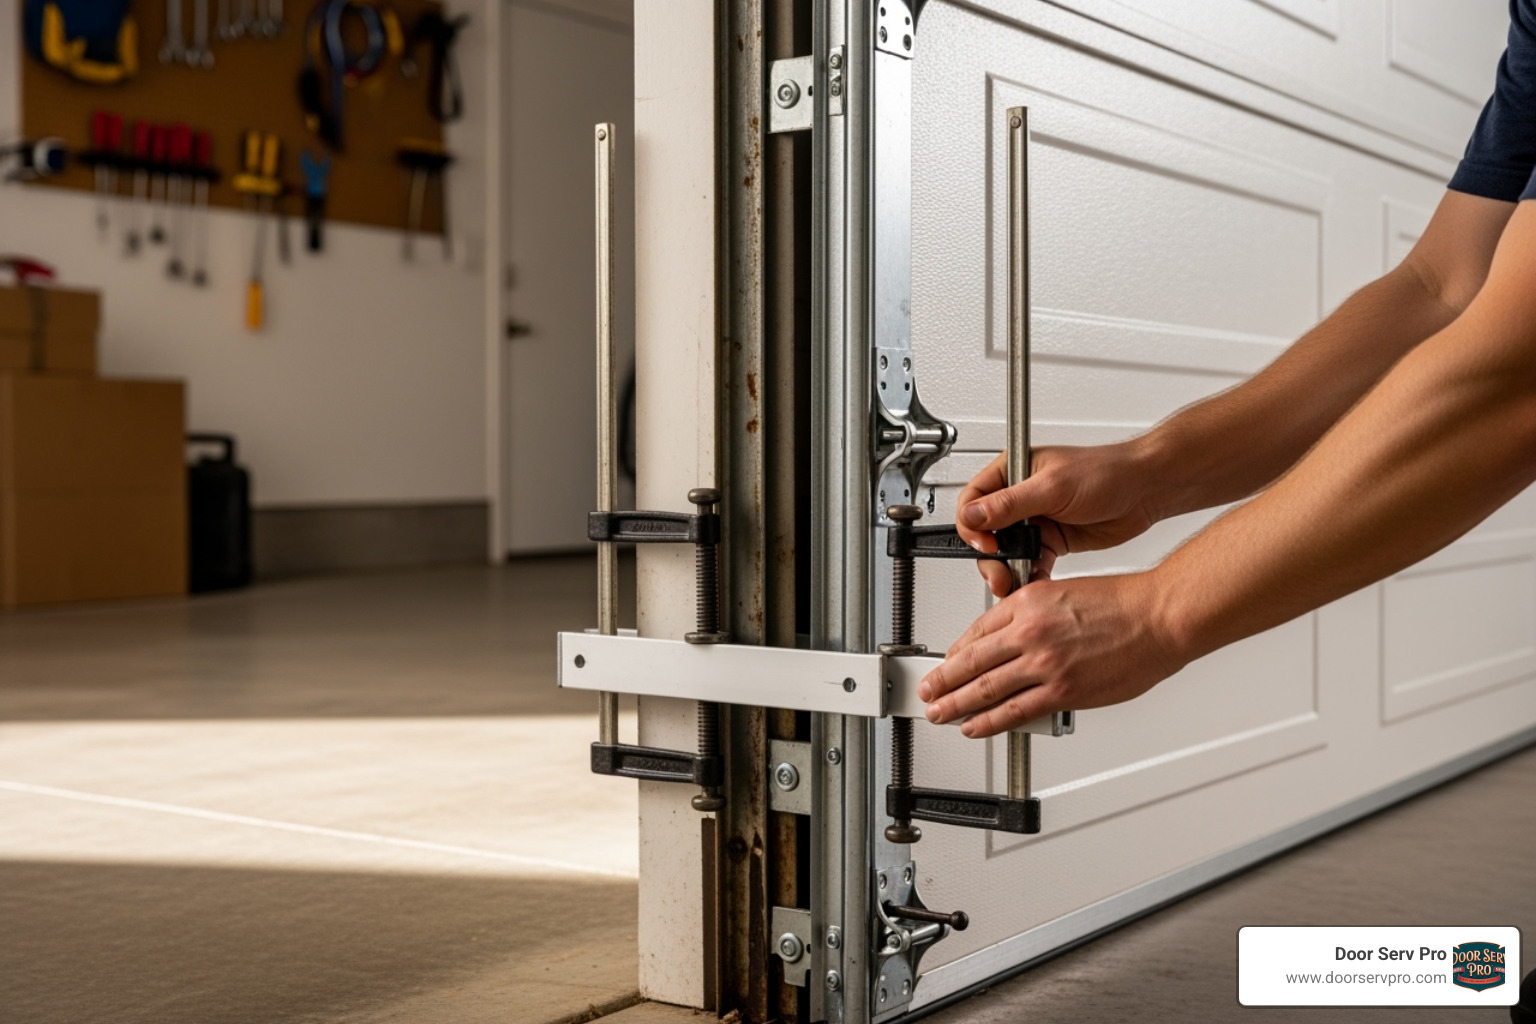
- Secure the Door: With the door fully closed, place C-clamps tightly on the vertical tracks on both sides, just above the bottom rollers. This prevents the door from moving unexpectedly.
- Use Proper Winding Bars: Never use screwdrivers or other makeshift tools. Only use hardened-steel winding bars designed for the job.
How to Safely Replace Torsion Springs
This is the most dangerous part of the repair. Proceed with extreme caution.
- Unwind the Old Spring: Insert a winding bar fully into a hole on the winding cone. While holding it firmly, loosen the setscrews. Unwind the spring a quarter turn at a time, using two bars leapfrog-style. Always have one bar securely in place before moving the other. Never let go of a bar until all tension is released.
- Remove the Old Spring: Once all tension is gone, loosen the setscrews on the cable drums and center bearing. Remove the bolts from the center bracket, then slide the torsion tube to remove the old springs and cable drums.
- Install the New Springs: Slide the new springs onto the tube, ensuring the correct orientation (left-wound on the left, right-wound on the right). Reinstall the center bearing, drums, and end bearings.
- Wind the New Spring: Insert a winding bar and wind the spring upward. Most 7-foot doors require 7.5 turns, and 8-foot doors need 8.5 turns (check your spring’s specifications). Wind a quarter turn at a time with two bars. Once wound, tap the bar to stretch the spring slightly before tightening the setscrews firmly.
- Reconnect Cables: Ensure the lift cables are taut and seated correctly in the drum grooves.
How to Safely Replace Extension Springs
This process is generally safer but still requires care.
- Secure the Door: Open the garage door fully and use C-clamps to secure it to the vertical tracks just below the bottom rollers. This removes tension from the springs.
- Disconnect the Old Spring: Unhook the old spring from the track hanger and pulley. Remove the old safety cable.
- Install New Safety Cable: Thread the new safety cable through the new extension spring. Anchor the cable at both ends. This is a critical safety step.
- Attach New Spring: Connect the new spring to the track hanger and the pulley system. Always replace extension springs in pairs.
The Final Step: Balancing Your Garage Door
A proper garage door spring fix ends with a balanced door.
- Test the Balance: With the opener still disengaged, lift the door halfway (3-4 feet) and let go. A perfectly balanced door will stay in place. If it falls, the springs need more tension. If it rises, they have too much tension.
- Make Adjustments: For torsion springs, add or remove tension in quarter-turn increments. For extension springs, move the S-hook to a different hole on the bracket. Test after each small adjustment.
- Final Check: Once balanced, reconnect the opener and test the door’s operation. It should move smoothly. Lubricate the springs and moving parts.
DIY vs. Professional Repair: A Cost and Benefit Analysis
When facing a garage door spring fix, many homeowners weigh the cost savings of a DIY repair against the safety and convenience of hiring a professional. Here’s a realistic comparison.
| Feature | DIY Repair | Professional Repair |
|---|---|---|
| Cost | Parts only (e.g., $50-$150) | $200-$300 average (includes parts & labor) |
| Time | Can take a full day for first-timers | Usually a few hours |
| Safety | High risk of serious injury | Trained technicians, proper tools, lower risk |
| Warranty | None | Labor warranty often provided |
| Expertise | Requires significant research & precision | Years of experience, precise measurements, proper balance |
| Convenience | Requires personal effort & scheduling | Scheduled service, often same-day/emergency available |
The Real Cost of Garage Door Spring Replacement
The cost for DIY parts typically ranges from $50 to $150. Professional service averages $200-$300 nationally, which includes parts, labor, and a warranty. Be wary of online estimates claiming professional work costs over $700; always get local quotes. A professional will also inspect your entire system for other issues like worn cables or rollers, which can prevent future repairs, though it may add to the initial cost.
Benefits of a DIY Garage Door Spring Fix
For the right person, a DIY repair offers clear benefits:
- Cost Savings: You can save $100-$200 on labor.
- Satisfaction: Completing a challenging project provides a sense of accomplishment.
- Parts Control: You can choose to install premium, high-cycle springs.
- New Skills: You gain valuable knowledge about your garage door system.
Why Hiring a Professional is Often the Smarter Choice
For most homeowners, professional service is the recommended option.
- Safety: Door Serv Pro’s NATE-certified technicians have the training and tools to perform the job safely, protecting your family from the high risks involved.
- Efficiency: An experienced team can complete the replacement in a few hours, restoring access to your garage quickly.
- Guarantees: Professional work comes with a warranty. If an issue arises from the installation, we return to fix it.
- Emergency Service: We offer 24/7 emergency service for repairs that can’t wait.
- Peace of Mind: With over 25 years of experience, Door Serv Pro ensures your door operates perfectly, safely, and reliably. This peace of mind is priceless.
For most, especially when dealing with torsion springs, the expertise and safety offered by a professional outweigh the potential savings.
Frequently Asked Questions about Garage Door Spring Repair
After performing thousands of garage door spring fix jobs, we’ve compiled answers to the most common questions homeowners ask.
How long do garage door springs last?
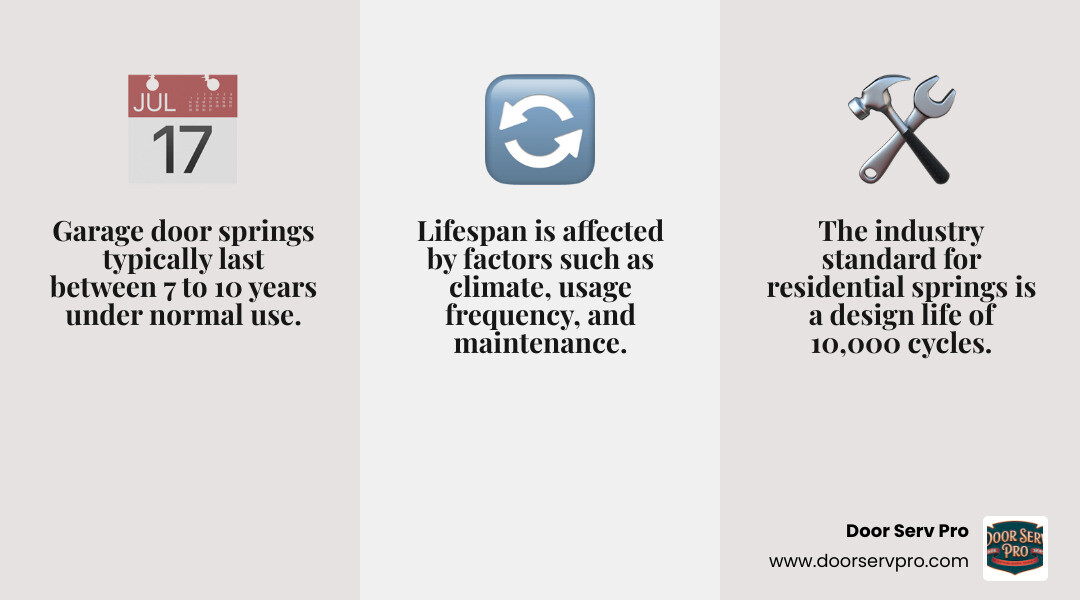
Most residential garage door springs are rated for 10,000 cycles (one open-and-close operation), which typically translates to 7 to 10 years of use. However, lifespan is affected by several factors. High daily usage can shorten this period to 5-7 years. Cold climates also put more stress on the metal, making springs more likely to break in winter. Regular maintenance, including lubrication, can help extend their life.
Should I replace both springs if only one is broken?
Yes, always replace both springs at the same time. Both springs have endured the same amount of wear and tear, so if one has failed, the other is likely near the end of its life. Replacing only one creates an imbalanced door, which puts immense strain on the new spring and the garage door opener. This will lead to another failure and a second service call, costing you more in the long run.
How can I make my garage door springs last longer?
Preventive care can significantly extend the life of your springs.
- Lubrication: Apply a silicone-based garage door lubricant to the springs, rollers, and hinges every few months. This reduces friction and prevents rust. Avoid WD-40, as it attracts dirt.
- Balance Test: Monthly, disconnect the opener and lift the door halfway. If it doesn’t stay put, the springs need adjustment. Addressing this early prevents bigger problems.
- Professional Maintenance: An annual tune-up by a technician can catch early warning signs of wear on springs, cables, and bearings, preventing a domino effect of failures.
- Listen to Your Door: If the door is noisy or struggles to open, don’t force it. These are signs the springs need attention. Ignoring them can turn a simple garage door spring fix into a more costly system overhaul.
Conclusion
A garage door spring fix is a hazardous repair where safety must be the top priority. The extreme tension stored in the springs can cause serious injury, making this a job best left to professionals, especially when dealing with torsion springs.
While a DIY repair may seem to save money, the risks of personal injury, property damage, and improper installation are significant. The peace of mind that comes with professional service—knowing the job is done safely, correctly, and with a warranty—is invaluable. This is about ensuring your family’s safety and the long-term reliability of your garage door.
For homeowners in West Virginia, Virginia, Pennsylvania, and Maryland, you don’t have to take on this dangerous task alone. Door Serv Pro has provided expert garage door services for over 25 years. Our NATE-certified technicians have the right tools and expertise to get your door working safely and efficiently.
We offer prompt, professional service with a 100% satisfaction guarantee, ensuring your entire system is balanced and ready for years of reliable use.
Your family’s safety is worth the investment. Request your garage door spring repair service today and let our experienced team handle the heavy lifting.


