Why Garage Door Drum Replacement Matters for Your Home
Garage door drum replacement is a critical repair that ensures your garage door is balanced, safe, and operates smoothly. If you notice grinding noises, uneven movement, or cable issues, worn-out drums are the likely culprit.
Quick Answer: What You Need to Know About Garage Door Drum Replacement
- What they are: Metal spools on the torsion shaft that wind and unwind lift cables.
- When to replace: Visible cracks, rust, uneven door movement, or frayed cables.
- Safety warning: High-tension springs make this a dangerous DIY job.
- Types: Standard-lift, vertical-lift, or high-lift drums (must match your door).
- Best practice: Replace both drums at once, even if only one appears damaged.
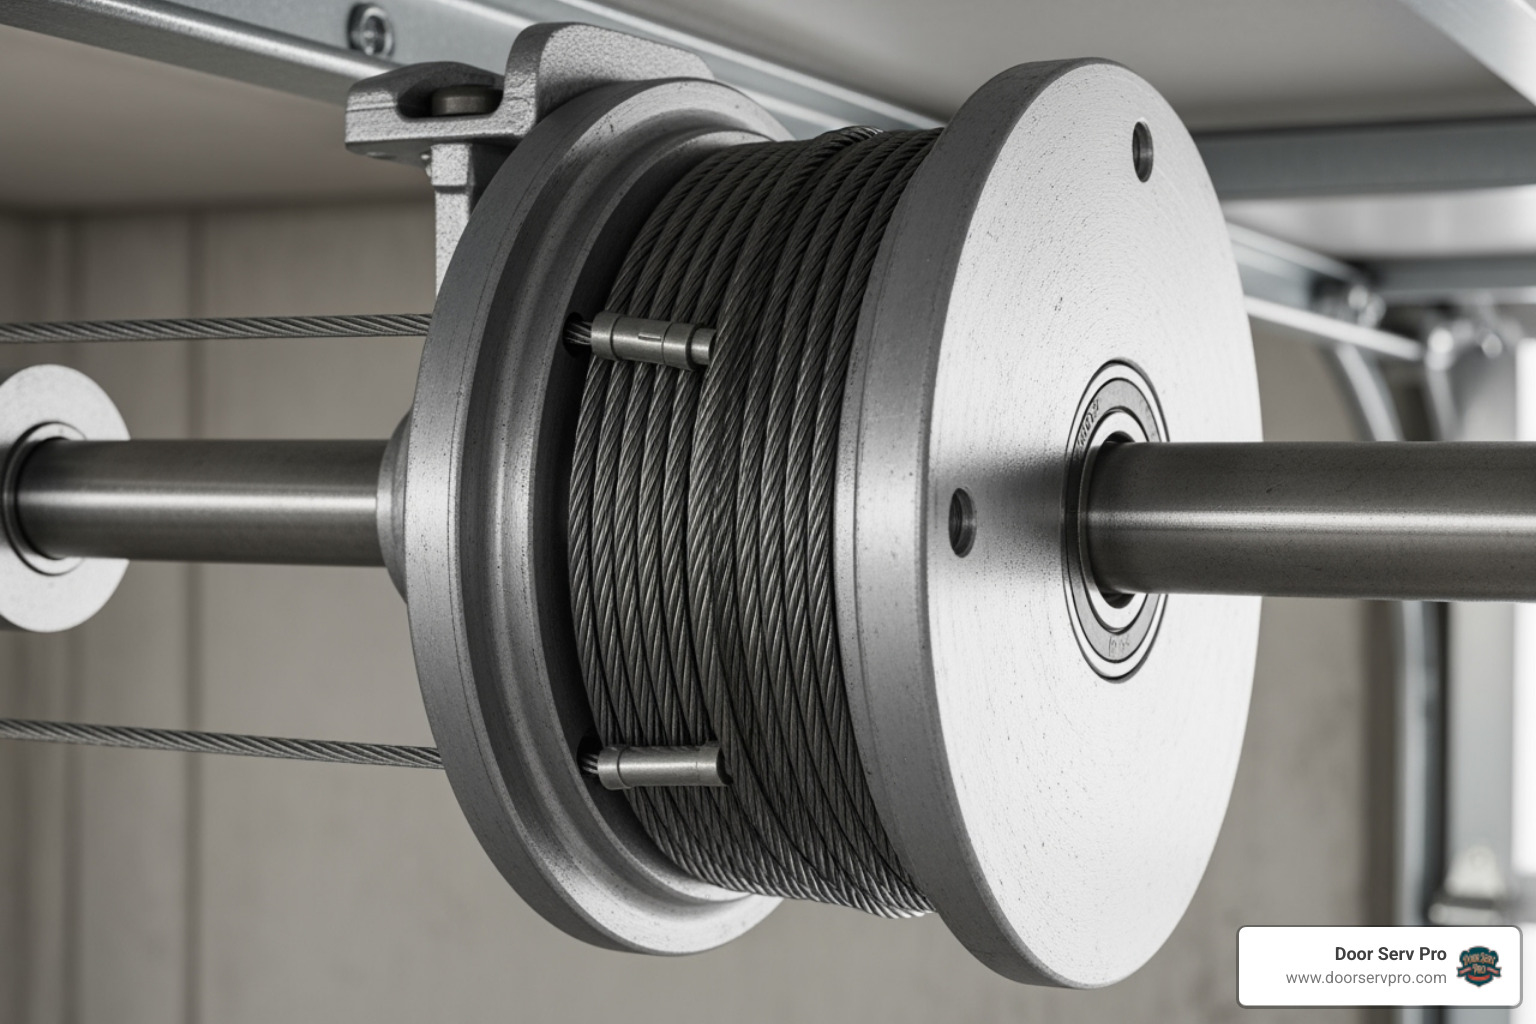
Garage door drums are cast aluminum spools that wrap your lift cables around the torsion shaft, transferring energy from the springs to lift the door. When drums wear out, crack, or corrode, the entire system becomes unsafe. A sudden tilt or a loud grinding noise are warning signs that your drums need immediate attention before a cable snaps or the door gets stuck.
For professional help with garage door repairs, check out our comprehensive garage door services. To understand what a technician will do, read on for our complete guide to garage door drum replacement.
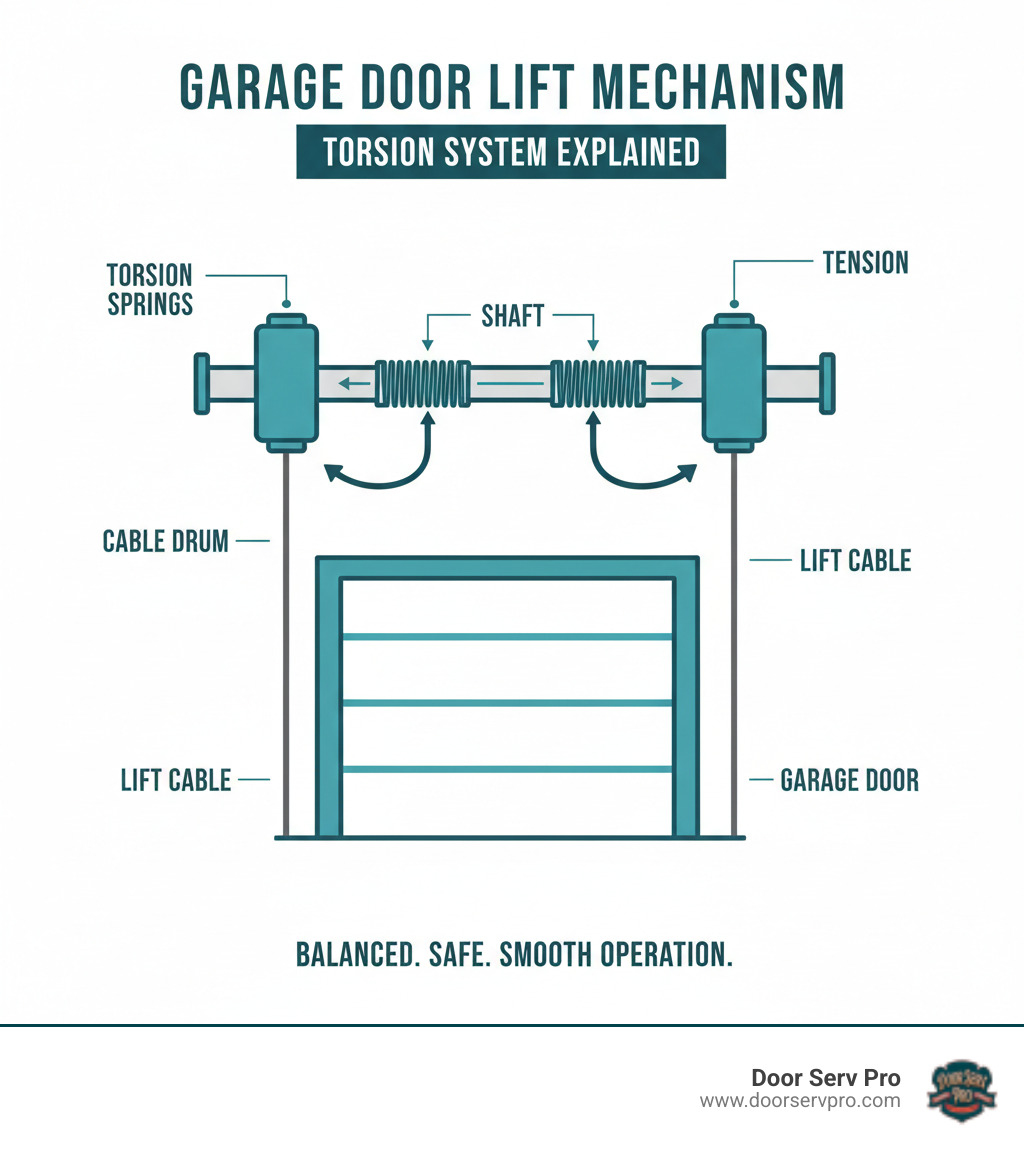
Understanding Garage Door Drums and Their Function
Behind your garage door's smooth operation is a system of components working together, and garage door drums are at the center of it all. These metal spools manage how your door moves, and understanding their function can help you spot problems early.
What Are Garage Door Drums?
Garage door drums are spools located on the torsion shaft at the top corners of your door. These cast aluminum or steel parts connect the torsion springs to the lift cables. When the door opens, the springs rotate the shaft, causing the drums to spin and wind up the cables, which pulls the door upward. When closing, the drums unwind the cables in a controlled manner. Properly functioning drums ensure the cables wind evenly, keeping the door balanced and preventing tangles or slips. For background on the physics and mechanics behind these components, see torsion spring.
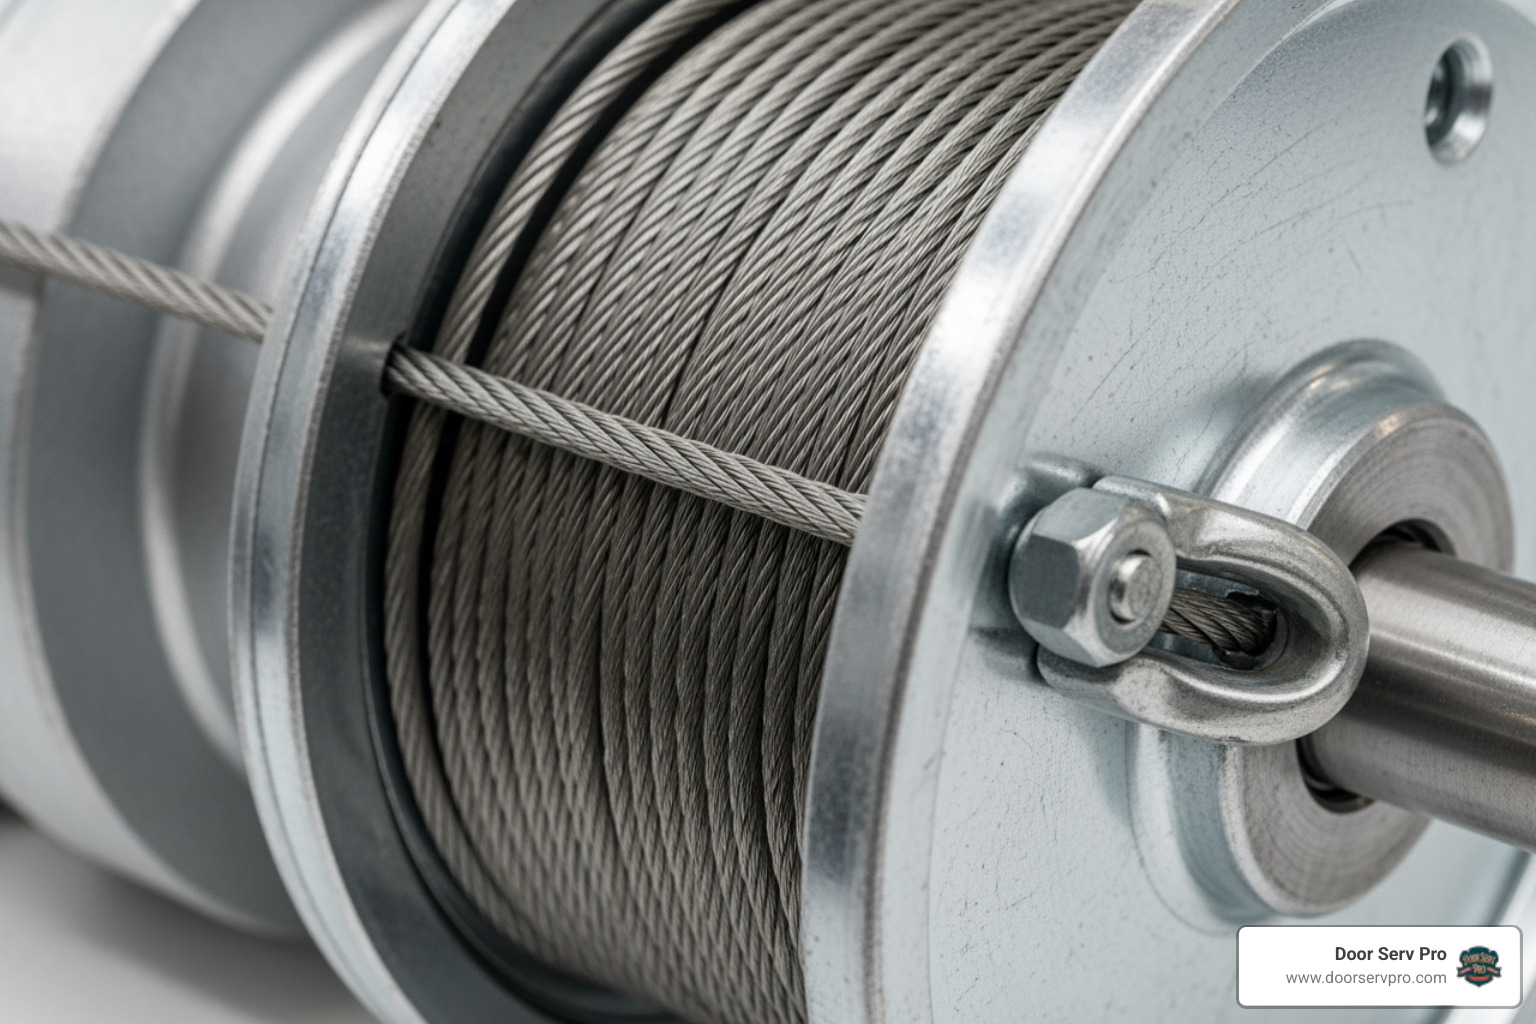
Without working drums, the springs cannot transfer energy to the cables, and your door becomes an inoperable, several-hundred-pound hazard.
Types of Garage Door Drums
Not all garage doors use the same drums. Choosing the correct type is crucial for safety and proper function.
Standard-lift drums: Found on most residential doors, these have a flat surface with a raised outer groove to help balance the door's weight as it starts to open. They come in various diameters for different door heights.
Vertical-lift drums: Used for doors that go straight up before moving horizontally, often in commercial settings or garages with high ceilings. They are taller to accommodate the extra vertical travel.
High-lift drums: A hybrid design for doors needing extra vertical clearance before turning. They have a raised portion for the vertical lift and a flatter section for horizontal travel.
Matching the drum to your door type is essential. The wrong drum can cause uneven tension, premature wear, and operational failure. When considering a garage door drum replacement, getting the exact type and size is critical. Our team at Door Serv Pro ensures the correct drums are selected for your specific system to guarantee safe, reliable operation.
When to Consider a Garage Door Drum Replacement
Garage door drums are under constant stress and eventually wear out. Knowing when to address drum issues can save you from a major garage door failure and a much larger repair bill.
Common Causes of Drum Failure
Garage door drums fail for several reasons, all related to the immense stress they endure:
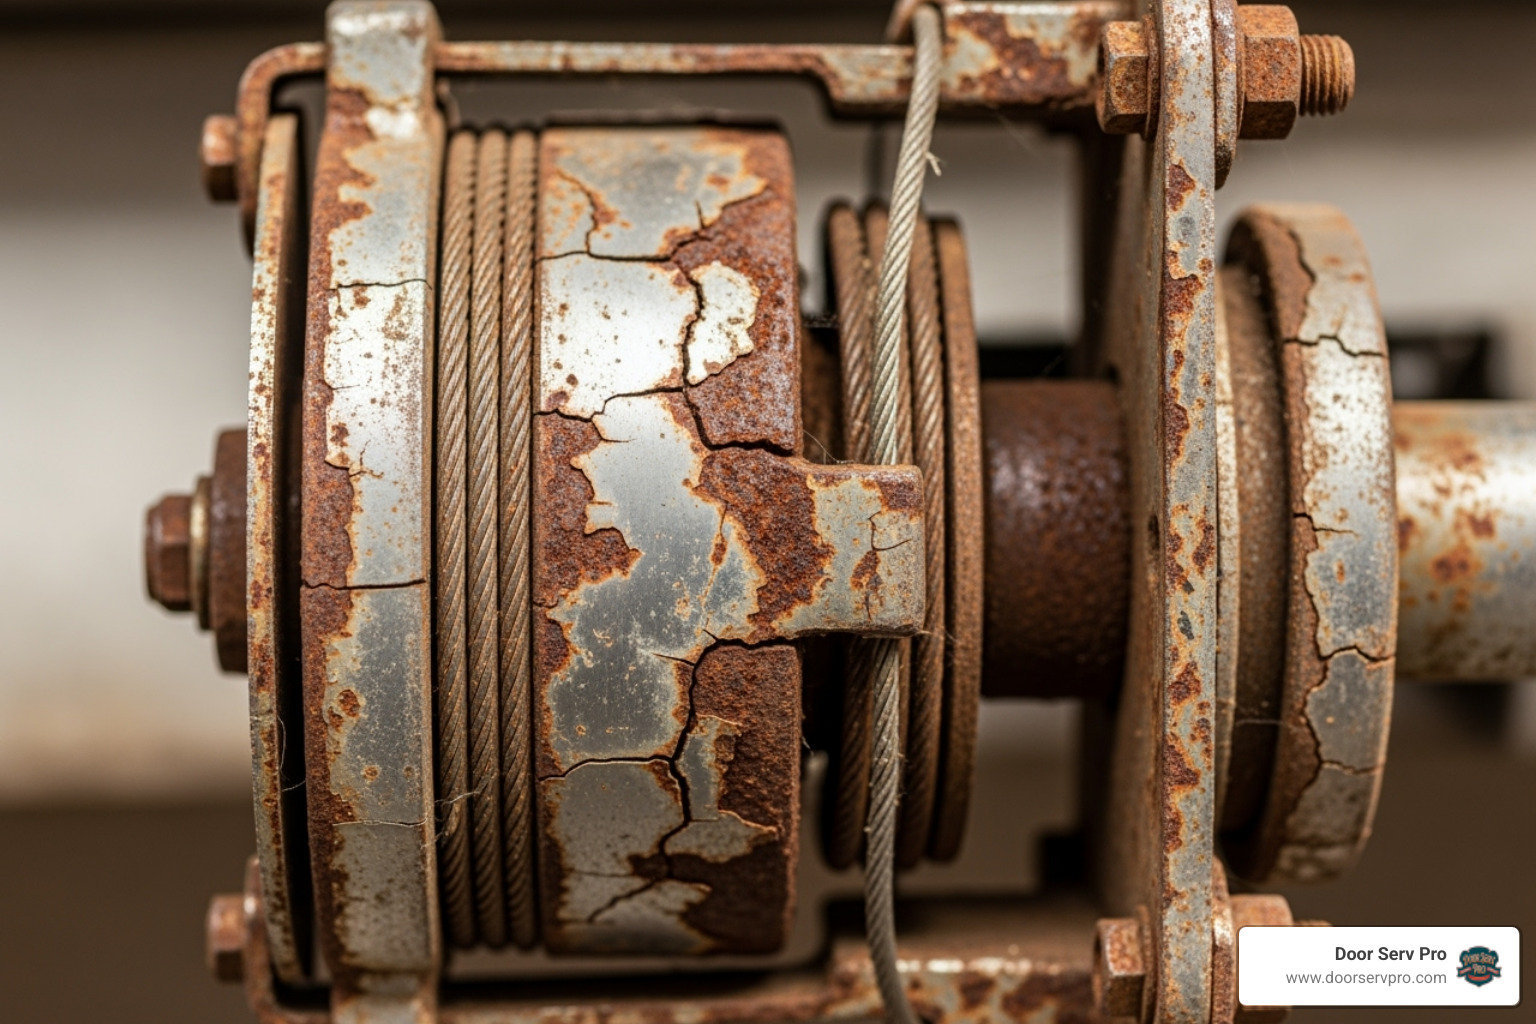
- Corrosion and Rust: Moisture in the garage attacks the metal, creating pitted surfaces that damage cables.
- Normal Wear: Thousands of opening and closing cycles gradually wear down the grooves where the cables wind.
- Cable Damage: A frayed cable can gouge the drum, and a damaged drum can shred a good cable, creating a cycle of damage.
- Debris Buildup: Grime acts like sandpaper, grinding away at both the drums and cables.
- Improper Tension: Unbalanced torsion springs can cause one drum to take on more stress, leading to premature failure.
Telltale Signs You Need a Garage Door Drum Replacement
Your garage door will often signal when something is wrong. Look for these signs:
- Loud Noises: Grinding, squeaking, or scraping sounds from the top of the door during operation.
- Uneven Movement: One side of the door rises faster than the other, or the door appears tilted.
- Cable Problems: Lift cables that are frayed, loose, or have come off the drum entirely.
- Visible Damage: Any cracks, chips, or significant rust on the drums themselves.
- Door Getting Stuck: The door stops consistently in the same spot or fails to open or close completely.
Repair vs. Replacement: What's the Right Call?
When it comes to damaged garage door drums, replacement is almost always the only safe option. While minor cleaning is fine, attempting to repair a drum with cracks, severe wear, or rust is extremely dangerous. A compromised drum can fail catastrophically under the tension from the torsion springs, leading to injury or property damage.
Trying to patch a damaged drum often leads to a domino effect of problems, damaging cables and other components. If your drums show any significant wear or damage, garage door drum replacement is the correct and safe decision. It's an investment in your home's safety and your peace of mind. For related issues, our garage door spring repair services can address the entire spring system.
Pre-Replacement Prep: Safety and Tools
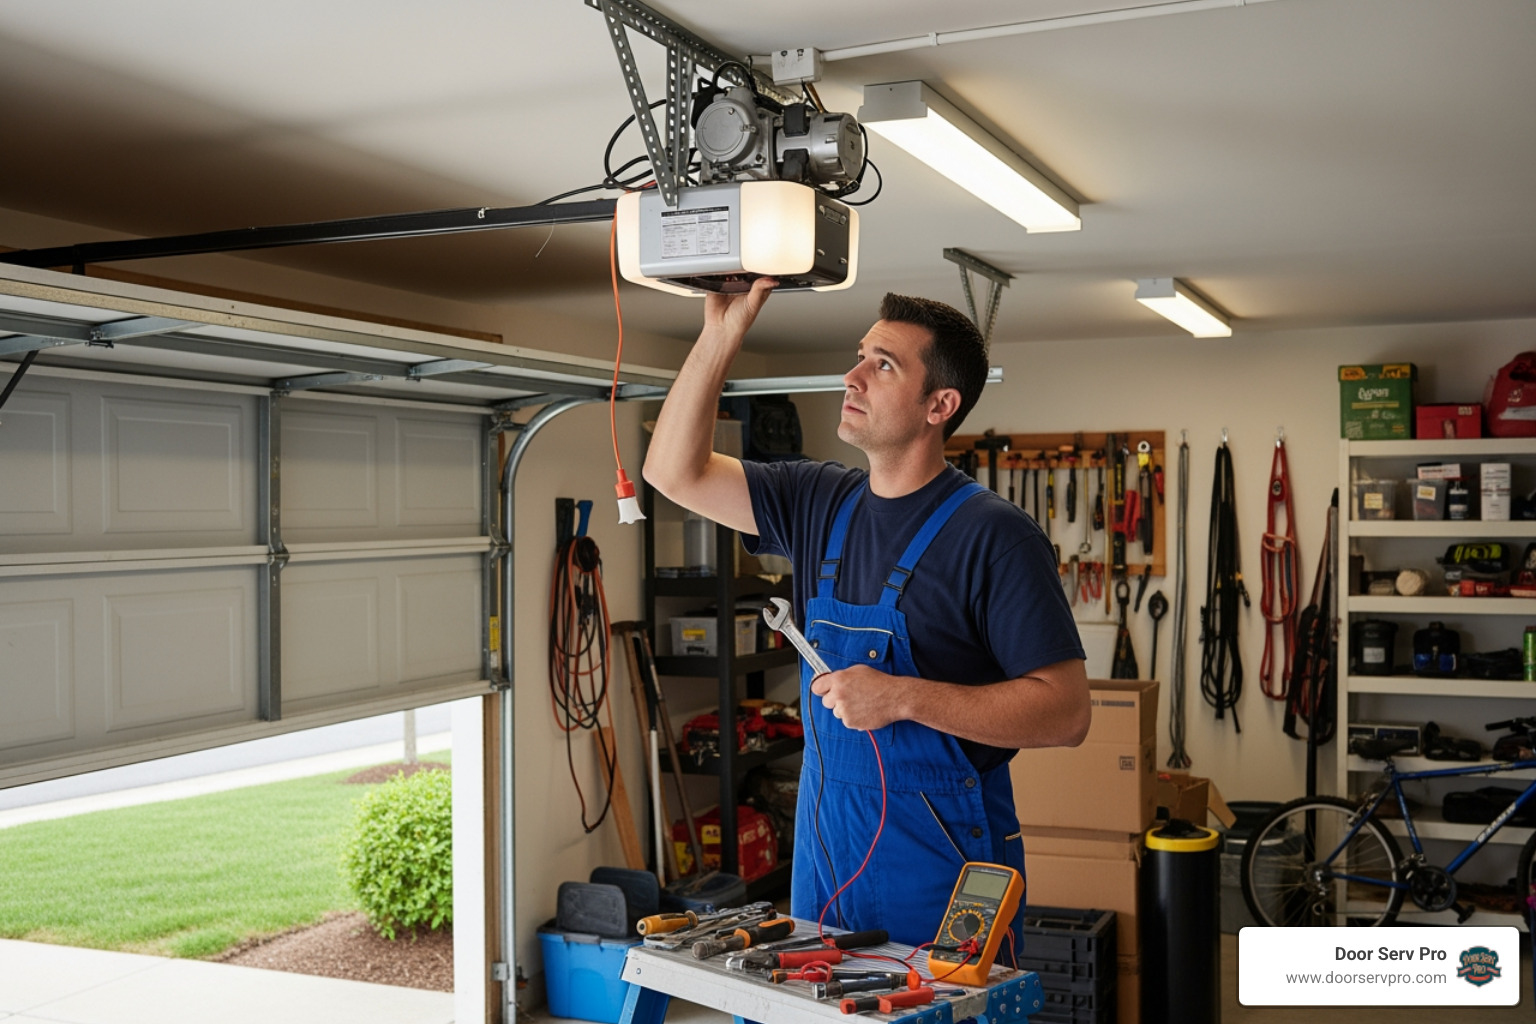
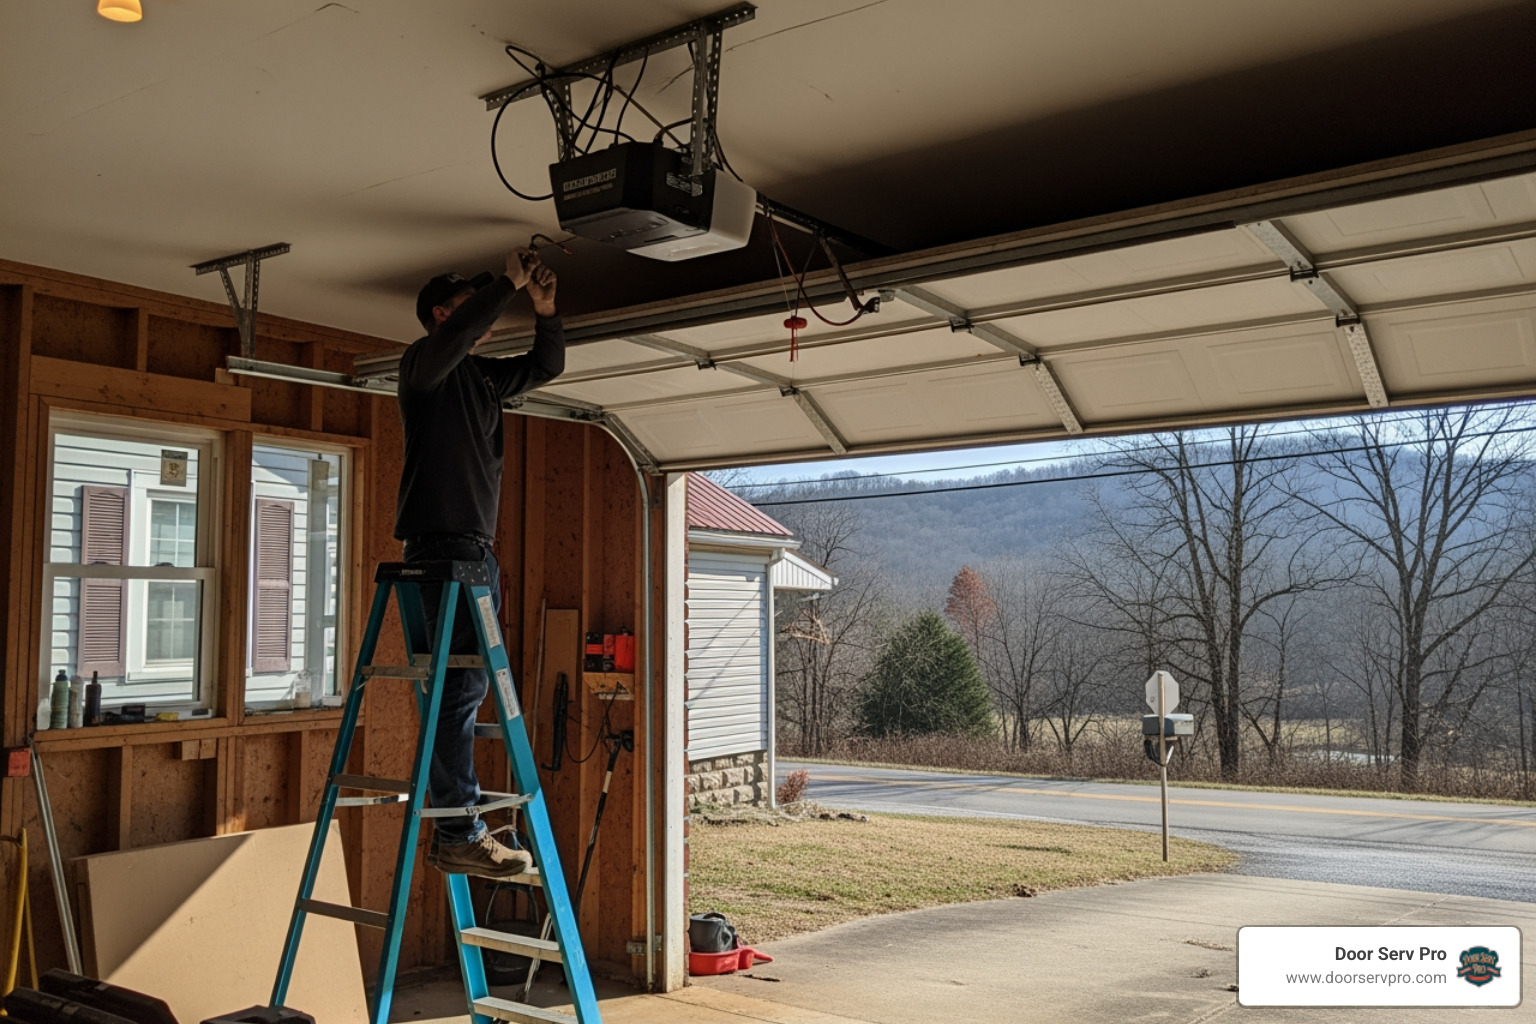
Garage door drum replacement is not a typical DIY project. The system operates under extreme tension from torsion springs, which can cause severe injury if handled improperly. While we provide this guide for informational purposes, we strongly recommend calling a professional for this repair.
Essential Safety Precautions
If you proceed, these safety steps are non-negotiable:
- Disconnect Power: Unplug the garage door opener from the outlet to prevent accidental activation.
- Wear Protective Gear: Use heavy-duty work gloves and safety glasses.
- Secure the Door: Close the garage door completely and clamp it to the tracks with locking pliers or C-clamps above the bottom rollers.
- Respect the Torsion Springs: These springs are extremely dangerous. Unwinding them requires specialized winding bars and proper technique. One slip can be catastrophic. This step is the primary reason this job is best left to professionals.
Tools and Materials Checklist
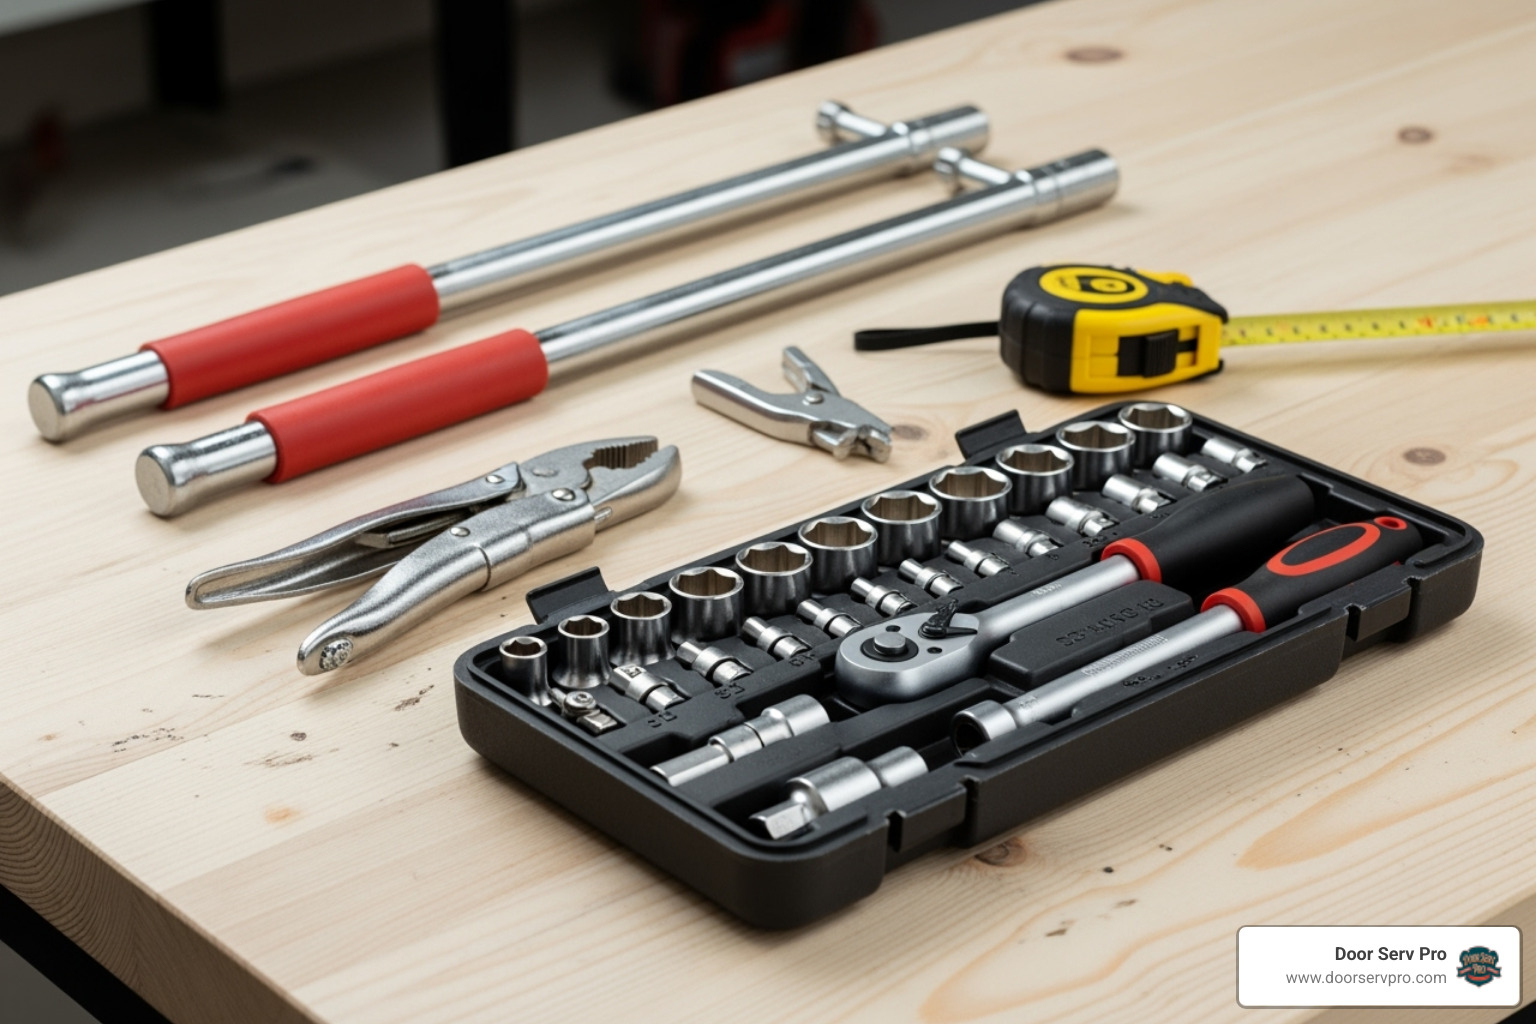
Having the right tools is critical for safety and success. Do not attempt this job without them.
- Winding Bars: Essential for safely unwinding and winding torsion springs. Do not substitute with screwdrivers or other tools.
- Socket Wrench Set: To loosen and tighten the set screws on the drums.
- Locking Pliers or C-Clamps: For securing the door and torsion tube.
- Sturdy Step Ladder: To work at a safe height.
- New Garage Door Drums: The correct type and size for your door. Always replace in pairs.
- New Lift Cables: It's best practice to replace cables along with the drums.
A Step-by-Step Guide to Garage Door Drum Replacement
This guide outlines the process for a garage door drum replacement. Warning: This procedure is extremely dangerous due to high-tension springs. If you are uncertain at any point, stop immediately and call a professional. Your safety is paramount.
Step 1: Unwind the Torsion Springs
This is the most dangerous step. The torsion springs store immense energy.
- Clamp the torsion tube to the center bracket with locking pliers to prevent it from spinning.
- Insert a winding bar into a hole on the spring's winding cone. While holding the bar firmly, loosen the set screws on the cone.
- Slowly unwind the spring a quarter turn at a time, using a second winding bar to hold the position as you move the first. Count every single turn and write the number down for each spring.
- Repeat for the second spring. The force is powerful and can cause the bar to whip around, leading to serious injury. This is why professional help is strongly advised.
Step 2: Loosen and Remove Old Drums
With the spring tension fully released, you can work on the drums.
- Use a socket wrench to loosen the set screws on both drums.
- Carefully detach the lift cables from the drums, noting how they are attached.
- Slide the old drums off the ends of the torsion tube. If they are stuck, a gentle pry may be needed.
Step 3: Install New Drums and Cables
- Ensure you have the correct drums, marked "L" for left and "R" for right. Installing them on the wrong side will cause problems.
- Slide the new drums onto the torsion tube.
- Attach the new lift cables to the drums and wind them tightly into the grooves, ensuring they are seated properly. The cable should wrap from the bottom of the drum.
- With some tension on the cables, tighten the drum set screws securely onto the torsion tube.
Step 4: Apply Tension and Test
This step is also extremely dangerous. You are re-applying the spring's tension.
- Using your winding bars, carefully rewind the torsion springs the exact number of turns you counted during removal. Getting this number wrong will unbalance your door.
- Once fully wound, tighten the set screws on the winding cones securely.
- Remove all clamps and locking pliers.
- Manually lift the door halfway. It should stay in place, indicating it is balanced.
- Reconnect power to the opener and test the door's operation. It should move smoothly and evenly. If not, disconnect the power and troubleshoot.
Common Mistakes to Avoid During a Garage Door Drum Replacement
- Skipping Safety Precautions: Never work without disconnecting power, securing the door, and using proper safety gear.
- Using Incorrect Tools: Screwdrivers are not a substitute for proper winding bars.
- Installing Mismatched Drums: Using the wrong drums or replacing only one will cause balance issues and damage.
- Uneven Cable Winding: Ensure both cables are equally taut to prevent crooked door movement.
- Improper Spring Tension: Too little tension strains the opener; too much makes the door unsafe. This is a common DIY error and another reason to call the professionals at Door Serv Pro.
Frequently Asked Questions about Garage Door Drum Replacement
Here are answers to common questions about garage door drum replacement.
How do I know what size garage door drum I need?
Finding the right drum size is critical. First, check the old drum for any stamped numbers or codes indicating its type and capacity. If the markings are gone, you'll need to identify the drum based on your door's height, weight, lift type (standard, vertical, or high-lift), and torsion shaft diameter (typically 1" or 1-1/4"). Using the wrong drum can cause serious safety and performance issues. For a guaranteed correct match, a professional consultation is the best approach.
Can I replace just one drum?
No, you should always replace drums in pairs. Like tires on a car, drums wear out at a similar rate. If one has failed, the other is likely near the end of its life. Replacing only one creates an imbalance in the system, causing uneven door movement, extra strain on the opener, and potential damage to other parts. For safety and long-term value, always replace both drums at the same time.
How can I make my garage door drums last longer?
Regular maintenance is the key to extending the life of your drums and the entire garage door system.
- Schedule Professional Tune-Ups: An annual inspection can catch small issues before they become big problems. Our garage door maintenance services are designed to keep your system in top shape.
- Keep Components Clean: Wipe down drums and cables every few months to remove debris that can accelerate wear.
- Inspect for Wear: Regularly look for rust, corrosion, or deep grooves in the drums.
- Lubricate Other Parts: Use a garage door lubricant on springs, rollers, and hinges to reduce overall system strain.
- Ensure Proper Balance: A well-balanced door puts less stress on all components. If your door feels heavy or won't stay put when halfway open, the springs need adjustment.
Conclusion
Properly functioning garage door drums are essential for the safety and reliability of your garage door. We've covered how to identify signs of failure—from grinding noises and uneven movement to visible cracks—and outlined the steps for a replacement.
However, we must be crystal clear: garage door drum replacement is a dangerous task due to the extreme tension in the torsion springs. A mistake can lead to severe injury or property damage. While understanding the process is valuable, attempting this repair without professional training and tools is a significant risk.
For this reason, we strongly recommend calling a professional. The safety and peace of mind that come with expert service are well worth it. For homeowners in WV, VA, PA, and MD, the certified team at Door Serv Pro has over 25 years of experience handling these repairs safely and efficiently. We treat your home's security and your family's safety as our top priority, backing every job with a 100% satisfaction guarantee.
If you're dealing with a cracked drum or any other garage door issue, don't risk it. Contact us for expert garage door services in Points, WV, and let our family-owned company ensure your door is in perfect working order.
