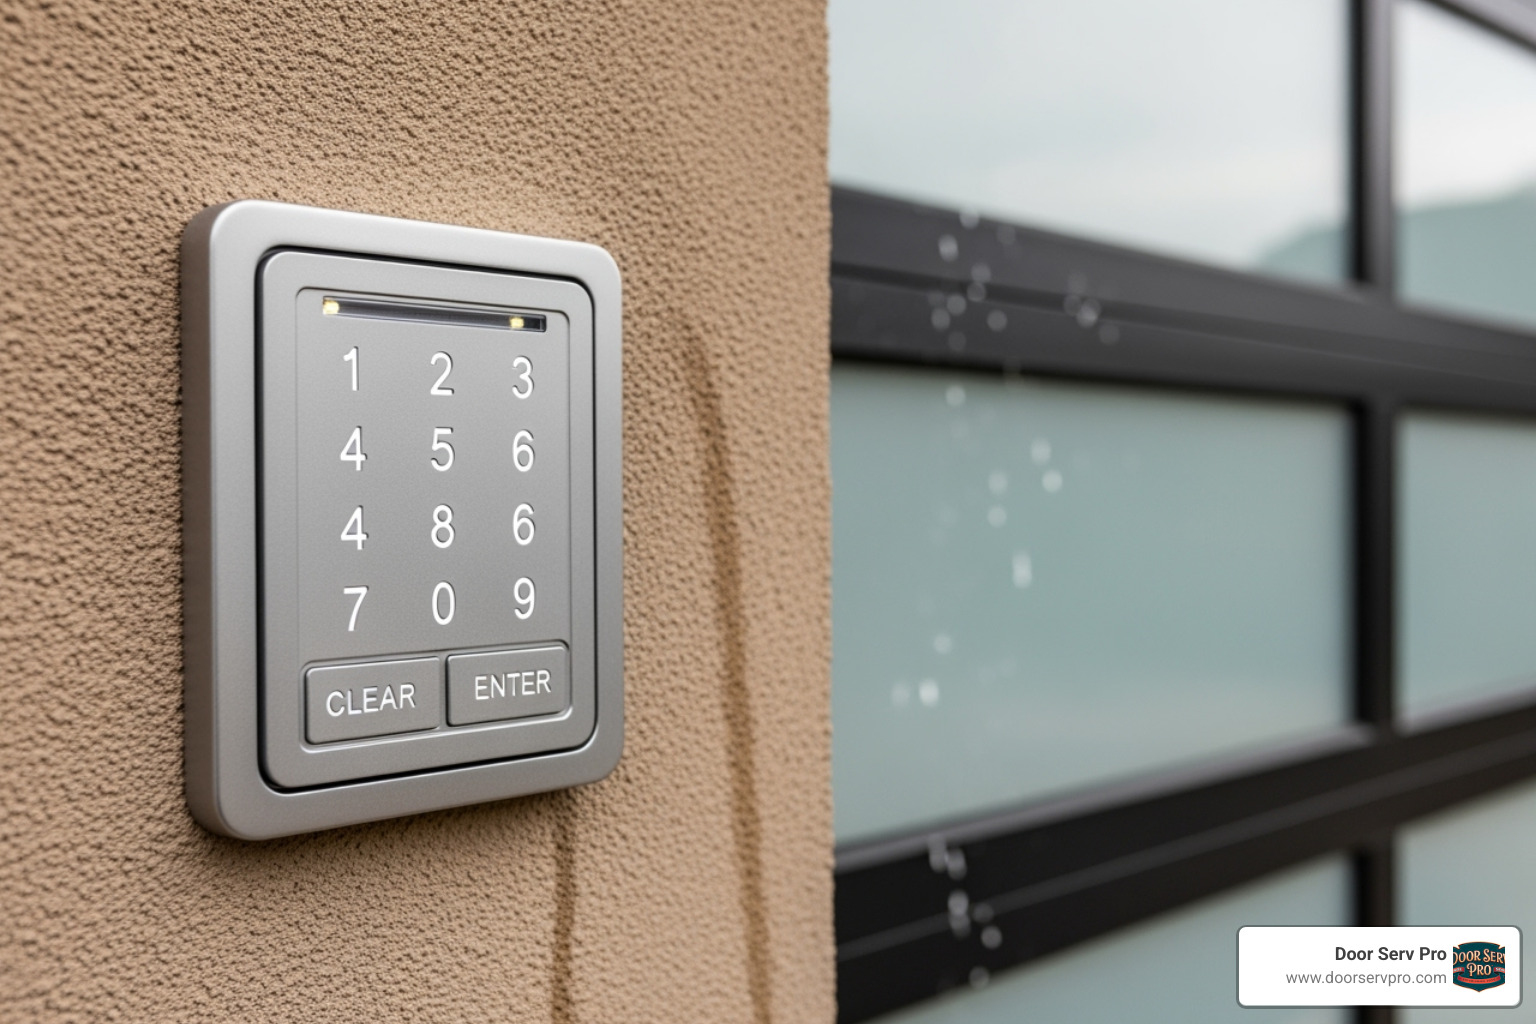
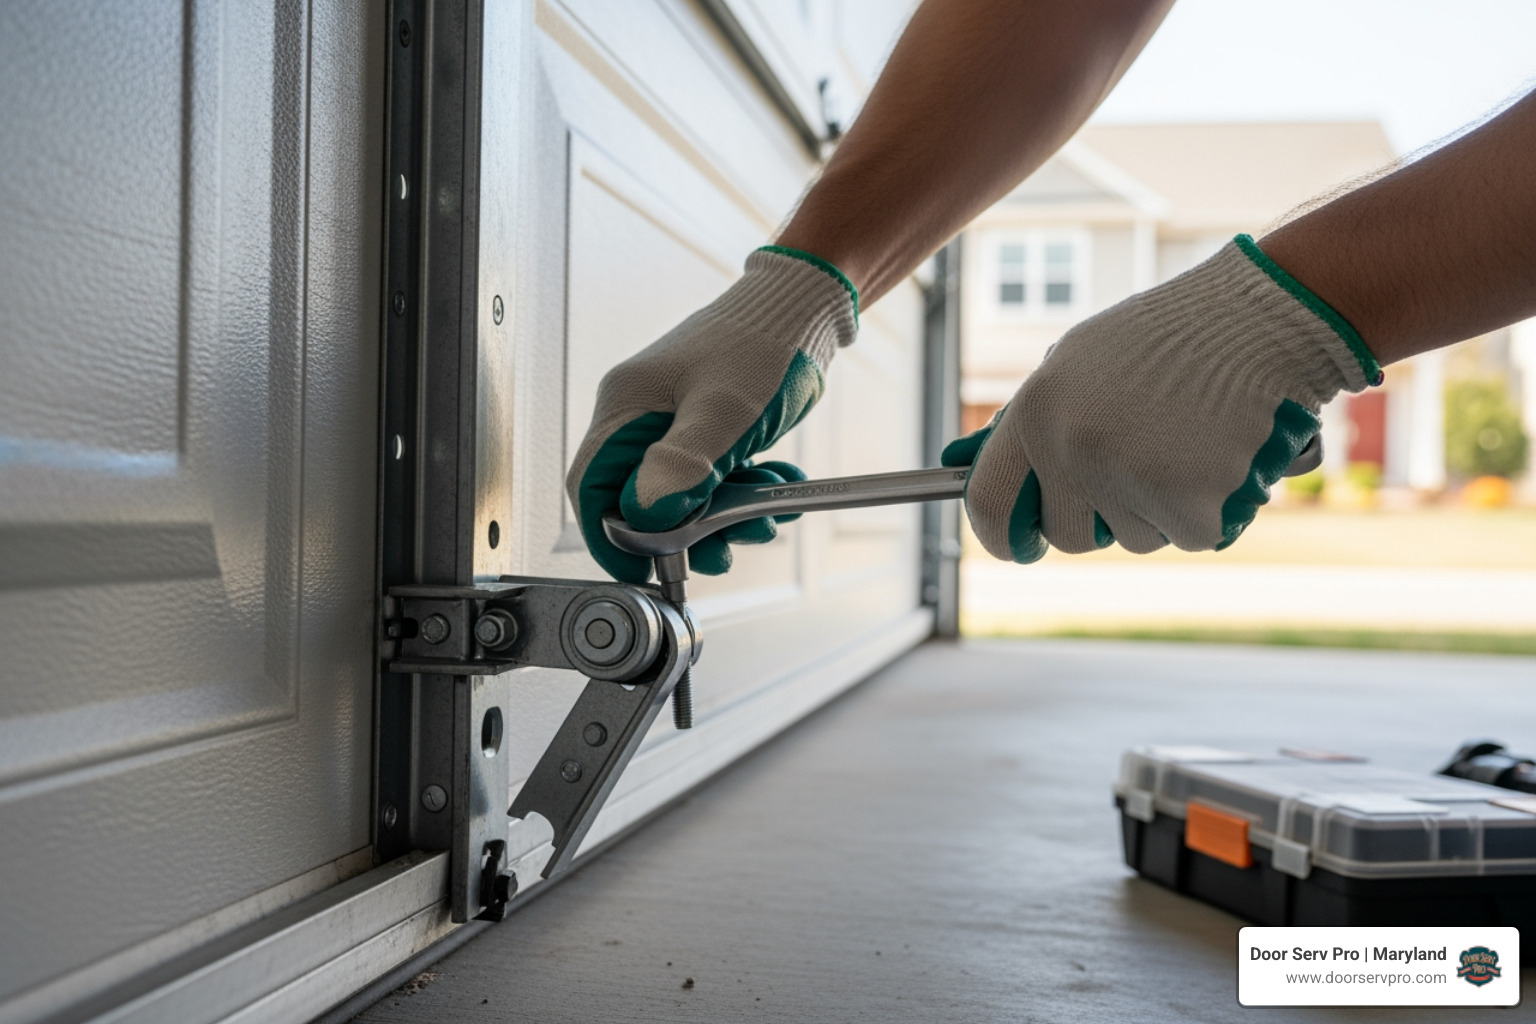
Why Garage Door Keypad Issues Are So Frustrating
Garage door keypad repair becomes necessary when you're standing in your driveway with arms full of groceries and your keypad decides to go on strike. According to industry research, approximately 80% of garage door keypad malfunctions stem from just a few common issues that homeowners can often fix themselves.
Most Common Garage Door Keypad Problems:
- Dead or weak batteries - The #1 cause of keypad failure
- Incorrect PIN entry - Including expired temporary codes
- Dirty or stuck buttons - From weather exposure and debris
- Signal interference - From LED lights or other electronics
- Programming issues - After power outages or system updates
The good news? Most garage door keypad problems don't require a service call. Simple troubleshooting steps like replacing batteries, cleaning the keypad, or reprogramming the unit can restore functionality in minutes.
Your keypad is designed to last 5-10 years with proper maintenance. When it stops working, the inconvenience goes beyond just getting into your garage - it disrupts your daily routine and can leave you locked out when you need access most.
The malfunction of a garage door keypad can be inconvenient and aggravating for homeowners, especially when simple fixes could have prevented the problem entirely.

First-Pass Diagnostics: The Most Common Keypad Culprits
When your garage door keypad suddenly stops working, it can feel like a major problem. But before you panic, take a deep breath. Most garage door keypad repair issues are far less serious than they seem, often boiling down to just a few simple culprits.
Think of your keypad like a smartphone that's been sitting outside in all kinds of weather. It needs consistent power, clean buttons, and the right code to work properly. The good news? Most problems fall into these three categories, and you can usually fix them without calling a pro.
Checking and Replacing the Batteries
Here's the truth: dead batteries cause about 80% of keypad problems. Yet it's often the last thing homeowners check. Your keypad is basically a tiny computer, and just like your phone gets wonky when the battery dies, your keypad starts acting up too.
Watch for these telltale signs that your batteries are giving up the ghost. The backlight might dim or disappear completely when you press buttons. You might notice intermittent response where the keypad works sometimes but ignores you other times. Or worst of all, you get complete silence - no lights, no sounds, nothing.
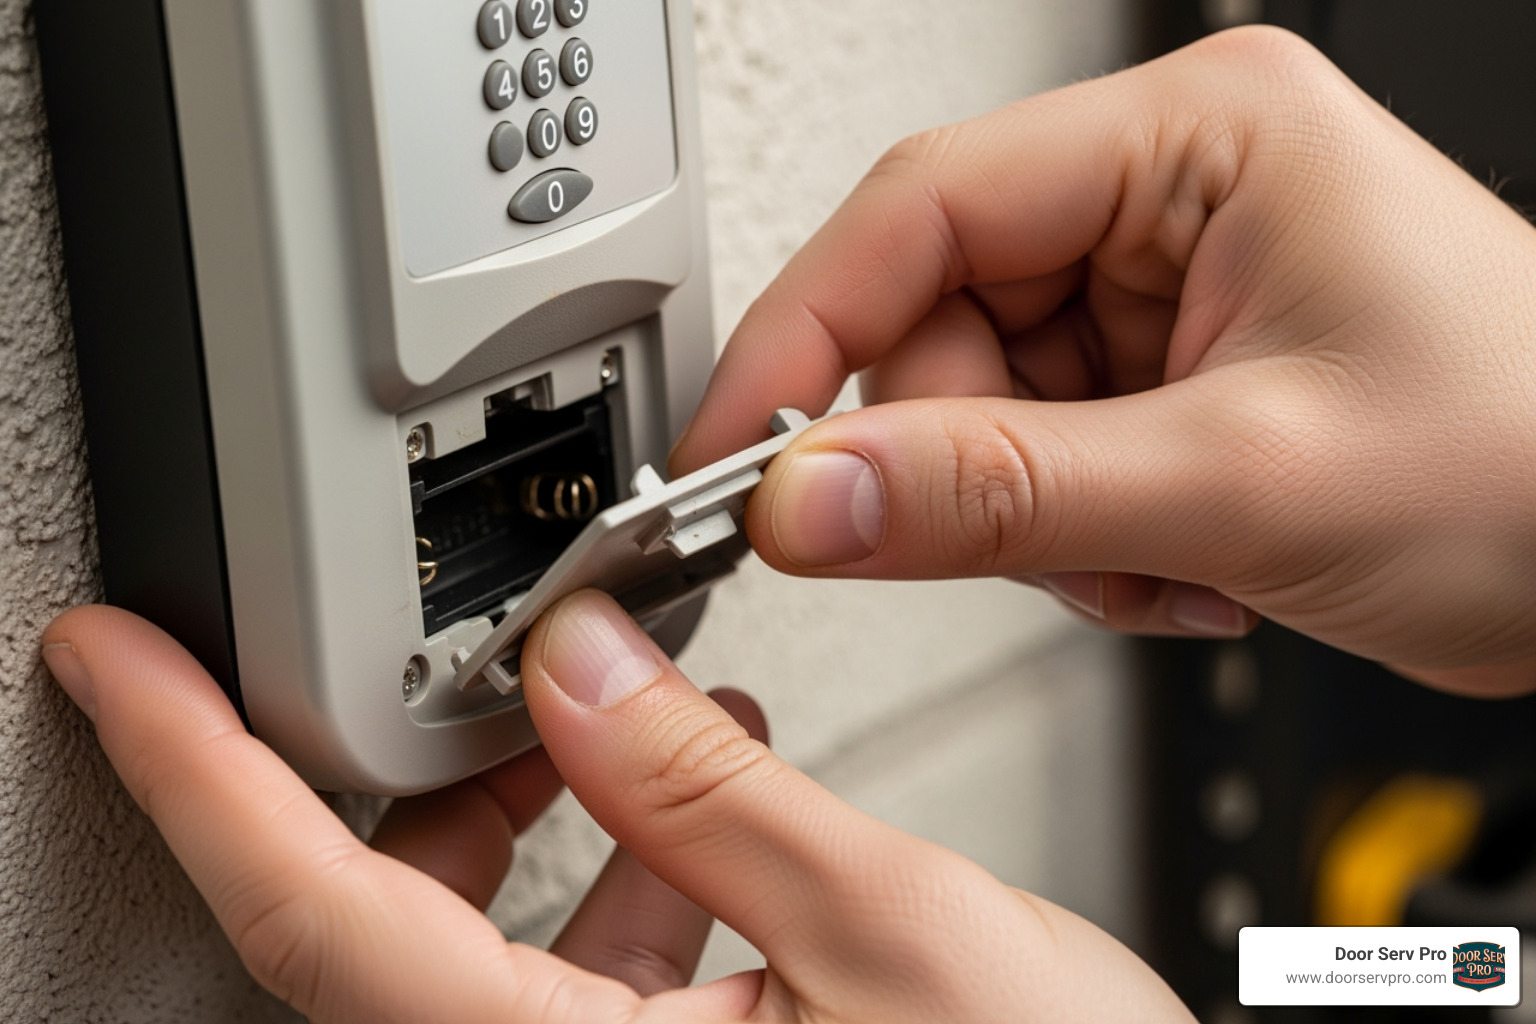
Most keypads run on a 9-volt battery, though some use AA or AAA batteries depending on the model. Always check your manual to be sure. When you pop open that battery compartment, take a moment to look for corrosion - that crusty white or green buildup that can block electrical connections.
If you spot corrosion, don't panic. A cotton swab with rubbing alcohol can often clean it right up. Just be gentle and make sure everything's dry before installing your new battery. And here's a pro tip: keep spare batteries in your toolbox. Trust us, you'll thank yourself later when your keypad decides to quit at the worst possible moment.
For more battery-related fixes, check out our guide on Quick Fixes for Remote Control Garage Door Opener Repair.
Cleaning the Keypad for Better Response
Your poor keypad lives a rough life. Rain, snow, blazing sun, dirt, dust - it takes a beating every single day. Over time, all that grime builds up and makes buttons stick or prevents them from registering your presses.
Start with a simple wipe-down using a soft, dry cloth. For stubborn dirt, try a mild soap solution on a slightly damp cloth. The key word here is mild - harsh chemicals can damage your keypad's finish or mess with its internal parts.
Stuck buttons are usually the result of dirt getting lodged underneath. Compressed air works wonders here - just give those buttons a few quick blasts to dislodge whatever's hiding in there. You might be surprised what comes flying out.
Weather exposure is particularly tough on keypads. If yours has been through a few harsh winters or blazing summers, it probably needs some TLC. Regular cleaning not only helps it work better but also extends its life significantly.
A clean keypad is a happy keypad. And a happy keypad means you won't get stuck outside your garage when you're juggling grocery bags in the rain. Learn more about why regular maintenance matters in our article on The Importance of Timely Garage Door Opener Repair for Safety.
Verifying the Code and Checking for Lockout Mode
We've all been there - standing in the driveway, punching in numbers, and getting absolutely nothing. Before you assume your keypad is broken, consider this: you might be locked out.
Forgotten PINs happen to the best of us. Maybe you changed it recently, or perhaps you set a temporary code that expired. Some keypads let you create guest codes with expiration dates, and if you've been using one of those, it might have quietly expired while you weren't paying attention.
Here's where it gets tricky: most keypads have security lockout features. Enter the wrong code too many times, and the system says "nope" and shuts you out for a while. This waiting period can range from a few minutes to much longer, depending on your model.
Check your manual - it'll tell you exactly how your lockout system works and how long you'll be in timeout. Sometimes the best fix is simply waiting it out rather than frantically pressing more buttons (which will only make the lockout longer).
If you think you might have triggered a lockout, step away from the keypad for 5-10 minutes. Grab a cup of coffee, take a few deep breaths, and then try again with the correct code. Sometimes patience really is the best garage door keypad repair tool you have.
Step-by-Step Garage Door Keypad Repair and Troubleshooting
When the basic fixes don't solve your keypad woes, it's time to roll up your sleeves and dive deeper into garage door keypad repair. Don't worry—this isn't as intimidating as it sounds! Most of these issues stem from communication problems between your keypad and garage door opener, kind of like when your phone loses connection to your Wi-Fi router.

Think of your keypad as a translator that needs to speak the same language as your garage door opener. After power outages, battery changes, or just the passage of time, these two devices sometimes forget how to talk to each other. The good news? We can teach them to communicate again with some simple reprogramming steps.
How to Reset and Reprogram Your Keypad
Reprogramming your keypad is like introducing two old friends who've forgotten each other's names. It's a fresh start that often solves mysterious keypad problems that seemed impossible to fix.
The secret to successful reprogramming lies in finding the 'Learn' button on your garage door opener motor unit. This little button is your gateway to fixing most communication issues. You'll find it on the back or side of the motor unit hanging from your garage ceiling. It might be labeled "Learn," "Program," or "SRT," and it's usually a bright color like yellow, purple, red, green, or orange.
Here's where things get interesting. If you're dealing with persistent problems or want to start completely fresh for security reasons, you can erase your opener's memory first. Press and hold that 'Learn' button for about 10-15 seconds until the indicator light goes out. Just remember—this wipes out all existing codes, so you'll need to reprogram your remotes too!
For the actual programming, briefly press and release the 'Learn' button without holding it down. The indicator light will glow steadily for about 30 seconds, which is your window of opportunity. Rush over to your keypad and enter your desired new PIN (usually 4 digits), then press the "Enter" or "Program" button.
When everything goes right, you'll see the opener's light blink or hear a click—that's your opener saying "Got it!" Test your new PIN immediately to make sure the connection is solid.
If your keypad stopped working after a battery change, this reprogramming step is usually the missing piece of the puzzle. It's incredibly common across different garage door systems and nothing to worry about.
For brand-specific instructions, check out the Genie programming instructions or the Liftmaster programming guide for detailed guidance.
Advanced Garage Door Keypad Repair: Tackling Signal and Wiring Issues
Sometimes the problem isn't your keypad at all—it's the invisible radio waves trying to carry your signal to the opener. Radio Frequency (RF) interference is like having a conversation in a crowded, noisy restaurant. Your keypad is trying to talk, but other electronic "voices" are drowning it out.
The biggest troublemaker these days? LED light bulbs, especially ones installed in or near your garage door opener. These energy-efficient bulbs can create electronic noise that scrambles your keypad's signal. Other common culprits include new appliances like refrigerators, smart home devices, or even a recently upgraded Wi-Fi router.
Power lines and electrical surges can also cause temporary or ongoing interference. Even your keypad's mounting location matters—if it's attached directly to a metal surface, that metal can actually interfere with the wireless signal transmission.
To track down interference issues, try temporarily unplugging nearby electronics one by one. If your keypad suddenly starts working when you unplug something, you've found your culprit. Sometimes moving potential interference sources just a few feet away is enough to solve the problem.
Here's a trick that often works: unplug your entire garage door opener from its power source for about five minutes, and remove any backup batteries too. This complete system reboot can clear electronic glitches and reset the radio receiver, much like restarting your computer to fix random problems.
For wired keypads (less common but still around), the troubleshooting shifts to physical connections. Look for loose or frayed wires at both the keypad and opener unit. Damaged insulation or exposed wires might indicate a short circuit that's preventing proper communication.
If you're comfortable with basic electrical work, try gently re-seating the wire connections to ensure they're firmly attached. Sometimes connections work loose over time from vibration and temperature changes.
When electrical issues get complex or you're not comfortable working with wiring, it's smart to call in a professional. Our detailed guide on Garage Door Opener Repairs: Common Electrical Issues and Fixes covers more advanced electrical troubleshooting.
Essential Tools for the Job
You don't need a professional workshop to handle most garage door keypad repair tasks, but having the right tools makes everything easier and safer. Think of these as your keypad repair survival kit.
A screwdriver set is essential—you'll likely need both Phillips head and flathead screwdrivers for battery compartments and housing panels. Always keep spare batteries of the correct type (9-volt, AA, or AAA) in your toolbox. There's nothing more frustrating than diagnosing a dead battery only to realize you don't have a replacement!
For cleaning, grab a soft cloth and mild soap solution for stubborn dirt and grime. Compressed air is fantastic for blasting debris from around buttons and internal crevices. A stepladder is absolutely necessary for safely reaching the 'Learn' button on your opener unit—never try to stretch or balance precariously.
Your manufacturer's manual is worth its weight in gold for model-specific programming instructions and troubleshooting steps. Finally, electrical contact cleaner can work wonders on corroded battery terminals or internal contacts that aren't making good connections.
With these simple tools in hand, you're ready to tackle the vast majority of keypad problems that come your way.
Proactive Care: Maintenance and Prevention
Think of your garage door keypad like your car – it'll serve you faithfully for years if you show it a little love along the way. Since your keypad faces whatever Mother Nature throws at it, day after day, a small investment in preventive care can save you from those frustrating moments when you're locked out of your own garage.
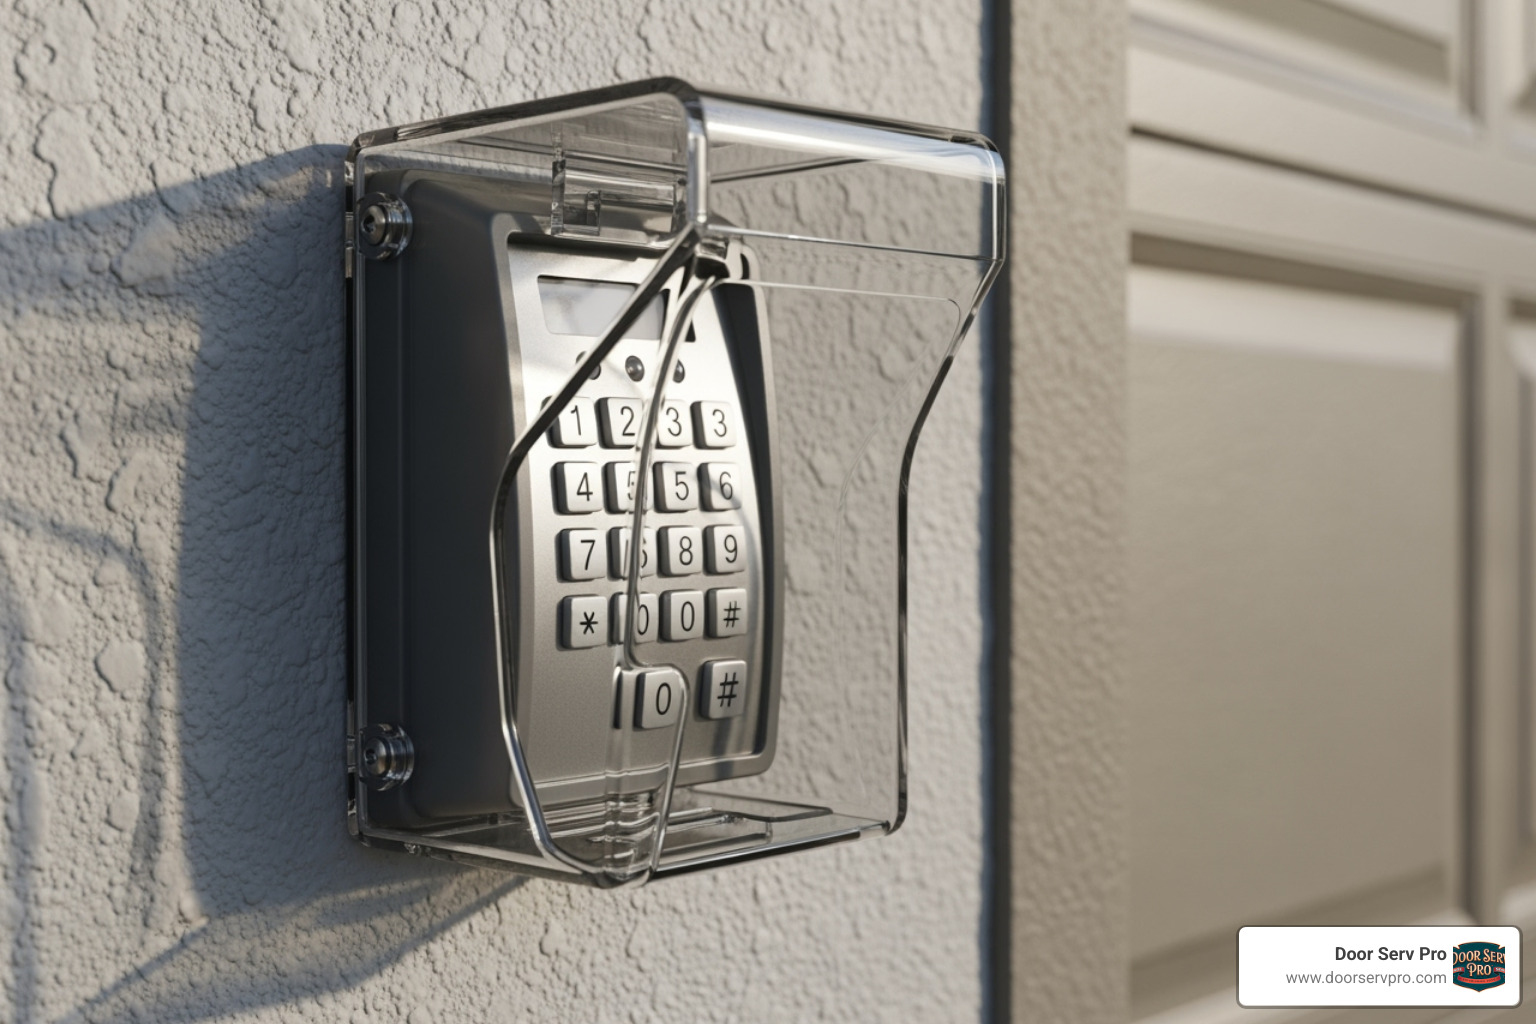
The truth is, most garage door keypad repair situations are completely preventable with just a few minutes of attention every few months. Your keypad doesn't need pampering, but it does appreciate consistency.
Essential Maintenance for Long-Term Garage Door Keypad Repair
Creating a simple maintenance routine is like having an insurance policy against keypad failures. You don't need to become obsessive about it – just consistent.
Monthly cleaning should become as routine as checking your mailbox. A quick wipe-down with a soft cloth removes the dust, pollen, and grime that love to accumulate on outdoor electronics. If you notice the buttons feeling sticky or unresponsive, that's your keypad asking for attention.
Twice-yearly battery checks are your best defense against unexpected failures. We recommend timing these with daylight saving time changes – it's an easy way to remember. Even if your keypad seems perfectly fine, batteries can weaken gradually, causing intermittent problems before they die completely. Keep a spare 9-volt battery in your toolbox so you're never caught off guard.
Annual deep care involves a bit more attention. Once a year, consider applying a small amount of electrical contact cleaner to the battery terminals. This prevents the corrosion that can sneak up on you, especially in humid climates. If you're comfortable opening your keypad's housing, a gentle cleaning of any accessible contacts can work wonders.
This simple routine can stretch your keypad's lifespan well into that 5-10 year range most manufacturers promise. For more insights into how long your garage door components should last, check out our comprehensive guide on How Long Do Garage Door Openers Last? A Comprehensive Guide.
Protecting Your Keypad from Weather and Wear
Your keypad lives a tougher life than most of your electronics. While your smartphone gets to hide in your pocket, your keypad stands guard outside, facing everything from blazing summer heat to bitter winter cold.
Temperature extremes are particularly hard on keypads. Summer heat can gradually degrade plastic components and stress internal circuits. Winter cold is even trickier – it doesn't just slow down battery performance, it can make perfectly good batteries act like they're completely dead. If you live somewhere with harsh winters, lithium batteries are worth the extra cost because they handle cold much better than standard alkaline batteries.
Moisture is the silent killer of electronic components. Rain, snow, and even high humidity can sneak into your keypad, causing everything from temporary glitches to permanent damage. You might be surprised how often dust, moisture, and even tiny insects team up to create short circuits in outdoor electronics.
Weatherproof covers are one of the smartest investments you can make. A quality cover shields your keypad from direct precipitation and harsh sunlight without interfering with its operation. Think of it as a little umbrella that's always there when needed.
Strategic placement matters too. If you're installing a new keypad, avoid spots that get pounded by direct sunlight all day. Prolonged UV exposure makes plastic housings brittle and can cause buttons to crack or fade. A little shade goes a long way toward extending your keypad's life.
These protective measures aren't just about avoiding repairs – they're about ensuring your keypad works reliably when you need it most. The quality of your garage door system's components and how well you maintain them directly impacts their durability and performance. Learn more about this connection in our article on The Impact of Quality Parts on Garage Door Opener Repair Durability.
Repair, Replace, or Call a Pro? Making the Right Decision
After working through all the troubleshooting steps we've covered, you might find yourself standing in your garage wondering: "Now what?" It's a common crossroads that many homeowners face when dealing with garage door keypad repair. Should you keep trying to fix it, cut your losses and buy a new one, or throw in the towel and call a professional?
The answer isn't always black and white, but there are some clear guidelines that can help you make the smartest decision for your situation and budget.
Most garage door keypads have a working lifespan of 5-10 years, depending on how well they're maintained and the conditions they face. If your keypad is approaching or has passed this age range, replacement often makes more sense than continued repairs. Think of it like an old car that keeps breaking down – at some point, you're throwing good money after bad.
Age considerations: A keypad that's only 2-3 years old and experiencing its first major issue is usually worth repairing, especially if it's just a matter of reprogramming or cleaning. However, a 7-year-old keypad that's had multiple problems might be telling you it's ready for retirement.
Cost factors also play a major role in this decision. Replacement keypads are relatively affordable, making them one of the more budget-friendly components of your garage door system. When the cost of your time and effort for repeated repairs starts adding up, a new keypad becomes an attractive option.
Issue complexity is another key factor. Simple problems like dead batteries, dirty contacts, or programming glitches are definitely worth fixing yourself. But if you're dealing with internal electronic failures, cracked housing, or mysterious intermittent problems that keep returning, replacement is often the more sensible path.
| Consider Repair When: | Consider Replacement When: |
|---|---|
| Keypad is less than 5 years old | Keypad is over 7 years old |
| First-time major issue | Multiple recurring problems |
| Simple fixes (battery, cleaning, programming) | Physical damage or electronic failure |
| No physical damage visible | Cracked housing or worn buttons |
| Security features are current | Outdated security protocols |
When to Replace Your Garage Door Keypad
Sometimes the writing is on the wall – or in this case, on your keypad. Certain signs clearly indicate that it's time to retire your current unit and invest in a new one.
Physical damage is usually a dead giveaway. If your keypad has cracks in the housing, buttons that no longer spring back properly, or visible corrosion that cleaning can't address, you're looking at a replacement situation. Weather damage, impact from yard equipment, or simply years of faithful service can leave a keypad beyond practical repair.
Age-related decline becomes obvious when multiple components start failing simultaneously. You might notice that the display becomes dim even with fresh batteries, buttons become less responsive, or the unit requires increasingly frequent reprogramming. This cascade of issues typically signals that the internal electronics are wearing out.
Outdated security features present another compelling reason for replacement. Older keypads may lack rolling code technology, making them more vulnerable to security breaches. If your keypad uses a fixed code that never changes, upgrading to a newer model with improved security features protects your home and family.
Compatibility issues can arise when you upgrade your garage door opener but keep an old keypad. While many keypads claim universal compatibility, newer openers often work best with keypads designed specifically for their security protocols and frequency ranges.
Modern keypads also offer conveniences that older models lack, such as multiple user codes, temporary guest codes, and integration with smart home systems. If these features appeal to you, replacement opens up possibilities that repair simply cannot provide. For insights into modern garage door technology, check out our article on Smart Technology Integration in Garage Door Repair Solutions.
Knowing When to Call a Professional
DIY garage door keypad repair can be satisfying and cost-effective, but there are definitely times when calling a professional is the smarter choice. Recognizing these situations can save you time, prevent frustration, and ensure your safety.
When troubleshooting fails completely, it's time to bring in expert help. If you've methodically worked through battery replacement, cleaning, reprogramming, and checking for interference, but your keypad still won't cooperate, the problem likely requires professional diagnostic tools and expertise.
Suspected opener motor issues definitely call for professional attention. If your keypad programming seems successful but the garage door still won't respond, or if the opener makes unusual noises during operation, the problem extends beyond the keypad itself. These symptoms could indicate motor problems, circuit board failures, or other complex issues that require specialized knowledge.
Complex electrical problems are another clear signal to call the pros. If you notice sparking, burning smells, or evidence of electrical shorts, stop troubleshooting immediately and contact a qualified technician. Safety should always be your top priority.
Time and tool constraints are perfectly valid reasons to seek professional help. Not everyone has the time to spend hours troubleshooting, and not every homeowner owns the specialized tools that some repairs require. Professional technicians can often diagnose and fix problems in a fraction of the time it would take a homeowner.
Safety concerns should never be ignored. If you're not comfortable working on electrical components, climbing ladders, or dealing with the mechanical aspects of garage door systems, there's no shame in calling for help. A professional service call is much less expensive than a trip to the emergency room.
The team at Door Serv Pro has seen it all when it comes to garage door keypad issues. With over 25 years of experience serving homeowners throughout WV, VA, PA, and MD, we can quickly identify whether your keypad needs a simple fix or complete replacement. Our NATE-certified technicians bring the right tools and expertise to handle any situation safely and efficiently.
Sometimes the most cost-effective solution is getting it done right the first time. For practical tips on managing your garage door repair budget effectively, explore our guide on Cost-Effective Garage Door Opener Repair Tips for Homeowners.
