When a Safety Sensor Is Blocking Your Garage Door From Closing
If a safety sensor blocking garage door from closing is your problem right now, here are the most common causes and quick fixes:
- Misaligned sensors - Gently adjust the sensor brackets until both LED lights are solid
- Dirty lenses - Wipe both sensor lenses with a soft, dry cloth
- Physical obstruction - Check for objects, toys, or debris blocking the beam path
- Loose wiring - Inspect the wires on both sensors and reseat any loose connections
- Sunlight interference - Shade the receiving sensor lens or adjust the sensor angle slightly
- Damaged sensor - If lights stay off or keep blinking after all of the above, the sensor may need replacing
Your garage door is doing exactly what it was designed to do. When the photo-eye sensors — those small boxes mounted a few inches above the ground on each side of the door track — lose their infrared connection, the opener treats it as a potential obstruction and refuses to close. That is a safety feature, not a flaw.
The frustrating part is that the beam can be interrupted by something as minor as a dusty lens or a slightly bumped bracket. Most of the time, the fix takes just a few minutes. But knowing which fix to apply starts with understanding what your sensors are telling you through their LED indicator lights.
This guide walks Pennsylvania homeowners through every step — from reading sensor light codes to proper alignment technique — so you can get your door closing safely again.

Understanding the Role of Photo-Eye Technology in Home Safety
If you have lived in Chambersburg or Waynesboro for a while, you might remember older garage doors that didn't have these sensors. However, a major shift occurred in 1993. Following updates to the UL 325 safety standards, all residential garage door openers manufactured after this date were required to include external entrapment protection. This usually comes in the form of the photoelectric "eyes" we see today.
These sensors work by projecting an invisible infrared beam across the opening of your garage. If that beam is broken while the door is closing, the system triggers a safety reversal, sending the door back up immediately. This technology is vital for preventing injuries to children, pets, or damage to vehicles that might be parked slightly too far forward.
The U.S. Consumer Product Safety Commission (CPSC) provides specific guidelines for these units. For instance, sensors must be mounted no higher than 4 to 6 inches above the garage floor. This height is intentional; it ensures that even small obstacles, like a pet or a tricycle, are detected. Following Garage Door Installation Safety Tips: Ensuring a Secure Process is the best way to ensure your system meets these federal requirements from day one.
Common Reasons for a Safety Sensor Blocking Garage Door From Closing
When your door refuses to shut, it is often because the "handshake" between the two sensors has been interrupted. In our 30+ years of serving Pennsylvania homeowners, we have found that a safety sensor blocking garage door from closing usually stems from one of these common culprits:
- Misalignment: This is the #1 cause. If a trash can bumps a sensor or the vibration of the door loosens a bracket, the "eyes" are no longer looking at each other.
- Dirty Lenses: Garages are dusty places. A thick layer of dust, a spider web, or even a dried water spot from a recent rainstorm can block the infrared light.
- Loose or Corroded Wiring: The thin wires connecting the sensors to the motor head can become frayed, pinched, or disconnected over time.
- Physical Obstructions: Sometimes it’s the obvious stuff—a leaf, a cobweb, or a rake leaning against the track.
Understanding these triggers is part of identifying the Most Common Garage Door Problems that affect modern homes.
Identifying a Safety Sensor Blocking Garage Door From Closing via LED Lights
Your sensors are equipped with small LED lights that act as a diagnostic tool. Most systems, like LiftMaster or Chamberlain, use a two-light system:
- The Sending Unit (Amber/Yellow): This sensor sends the beam. Its light should almost always be solid. If it is off, you likely have a power or wiring issue.
- The Receiving Unit (Green): This sensor receives the beam. If this light is flickering or out, the sensors are misaligned or the beam is blocked.
If you see a blinking red light or the main opener light flashes ten times when you try to close the door, the system is telling you it has detected a sensor error. These diagnostic codes are the first thing we check during a Garage Door Opener Repair visit to pinpoint the exact failure point.
Environmental Factors Causing a Safety Sensor Blocking Garage Door From Closing
Sometimes, the "obstruction" is invisible. In Pennsylvania, our changing seasons bring unique environmental challenges to garage sensors:
- Sunlight Interference: During certain times of the day, the sun may sit at an angle that shines directly into the receiving lens. This "blinds" the sensor with infrared radiation, making it think the beam is blocked.
- Humidity and Condensation: On foggy mornings in Greencastle or during high-humidity summers, moisture can fog up the lenses just like a pair of glasses.
- Cold Weather: Extreme cold can cause metal tracks and brackets to slightly contract or shift, throwing off a perfectly aligned sensor.
- Dust and Pests: Spiders love the warm, protected corners where sensors live. A single spider web across the lens is enough to stop a 300-pound door.
Step-by-Step Troubleshooting and Alignment Guide
You don't always need a toolbox to fix a safety sensor blocking garage door from closing. Follow these steps to realign your system:
- Clear the Path: Ensure the area between the sensors is completely clear of debris, tools, or toys.
- Clean the Lenses: Use a soft, dry microfiber cloth to gently wipe the glass lens on both the sending and receiving units. Avoid harsh chemicals that could cloud the plastic.
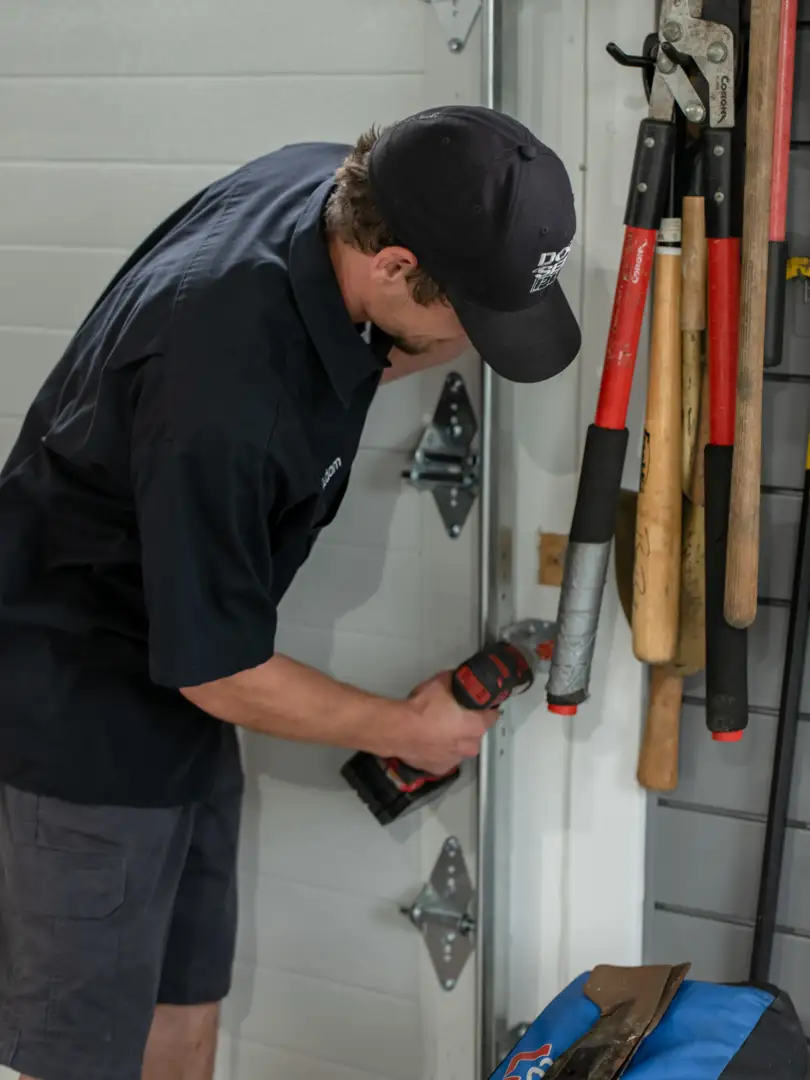
- Check the Brackets: Ensure the mounting brackets are tight against the track. If they wiggles, tighten the bolts.
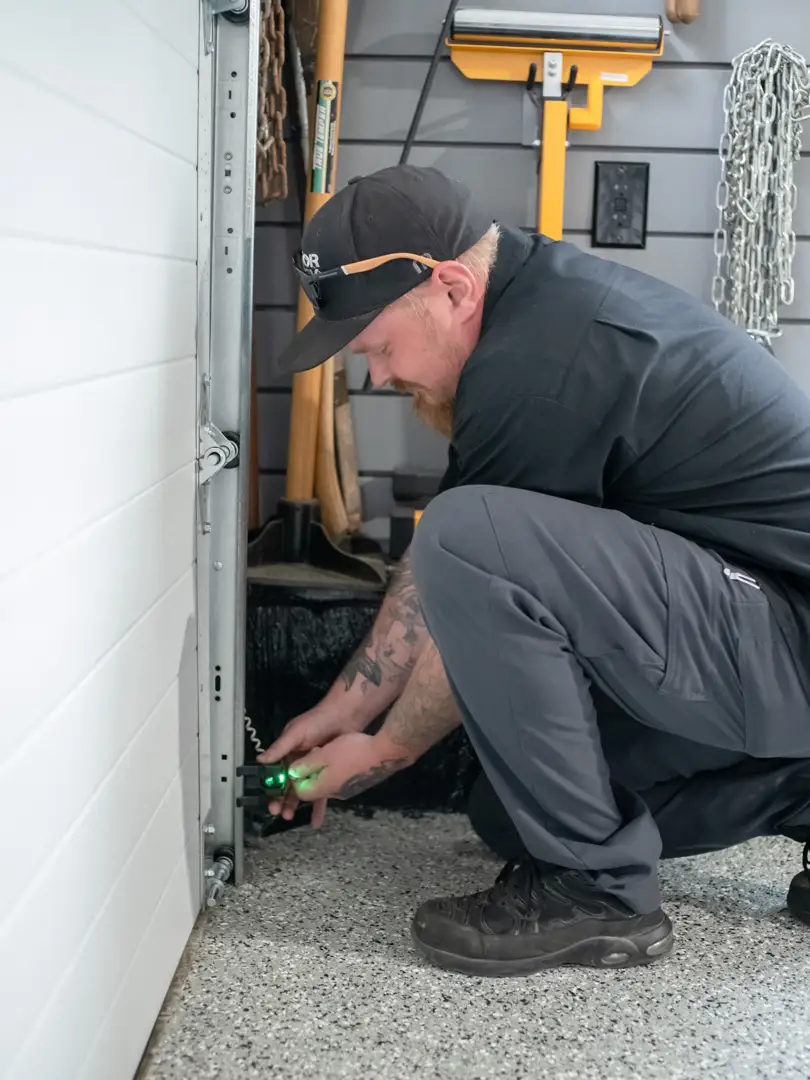
- The "Nudge" Technique: If the receiving light is blinking, gently nudge the sensor with your hand. Watch the LED; when it turns solid green, you have found the sweet spot.
- Adjust the Wing Nut: Most sensors are held in place by a small wing nut. Loosen it slightly to pivot the sensor until the light stays steady, then hand-tighten it back into place.
- Inspect the Wires: Trace the white and black wires back a few feet. Look for any staples that might have pinched the wire or any spots where the insulation has worn away.
Taking these small steps helps Ensure Smooth Garage Door Operation and prevents unnecessary wear on your opener's motor.
Why You Should Never Bypass Your Safety System
It can be tempting to simply cut the wires or "trick" the sensors into thinking they are aligned when they aren't. We strongly advise against this. Federal regulations, specifically 16 CFR Part 1211.16, mandate these safety features for a reason: they save lives.
A garage door can weigh anywhere from 150 to over 300 pounds. Without working sensors, the door becomes a heavy, moving wall that won't stop until it hits the floor—or whatever is underneath it. While most openers have a "manual override" (holding the wall button down until the door fully closes), this should only be used in emergencies. Permanently disabling the sensors is a major liability and a significant safety risk. For more on staying safe, review our Safety Tips for Garage Door Opener Installation.
Preventative Maintenance for Long-Term Reliability
Consistent care is the best way to prevent a safety sensor blocking garage door from closing at the worst possible moment—like when you're late for work on a snowy Monday morning.
| Task | Frequency | Description |
|---|---|---|
| Visual Inspection | Monthly | Check for loose brackets, cobwebs, or frayed wires. |
| The 2x4 Test | Monthly | Place a piece of wood in the door's path. The door should reverse upon contact. |
| Sensor Cleaning | Quarterly | Wipe lenses with a dry cloth to remove Pennsylvania road salt or dust. |
| Lubrication | Every 6 Months | Use silicone spray on hinges and rollers (but keep it off the sensor lenses!). |
| Professional Tune-up | Annually | Have a technician check the balance and force settings. |
By staying on top of these tasks, you understand The Role of Maintenance in Preventing Garage Door Opener Repairs and extend the life of your entire system.
Frequently Asked Questions about Garage Door Sensors
Can I close my garage door if the sensors are broken?
Yes, but only as a temporary measure. Most modern openers allow you to "force" the door closed by pressing and holding the wall-mounted button until the door is completely shut. If you let go before it touches the ground, the door will reverse. Alternatively, you can pull the red manual release cord and slide the door down by hand, making sure to lock it manually for security.
Why does my garage door reverse only during the day?
This is almost certainly due to sunlight glare. If the sun shines directly into the receiving sensor (the one with the green light), it can overwhelm the infrared signal. You can fix this by swapping the positions of the sending and receiving sensors (moving the receiver to the "shadier" side of the garage) or by creating a small "sun shield" out of cardboard or a toilet paper roll to shade the lens.
How do I know if my sensors need to be replaced?
If you have cleaned the lenses, checked the wiring, and aligned them perfectly, but the lights still won't come on or continue to blink erratically, the internal electronics may have failed. Physical signs like a cracked plastic housing or visible corrosion on the wire terminals are also clear indicators. In these cases, it is best to know When to Call for Garage Door Opener Repair to Avoid System Breakdowns.
Conclusion
A safety sensor blocking garage door from closing is a common headache, but it is one that exists to keep your family and your property safe. Usually, a quick wipe of the lens or a slight adjustment to a bracket is all it takes to get things back on track. However, if you find yourself struggling with persistent blinking lights or damaged wiring, don't risk your safety by trying to bypass the system.
At Door Serv Pro, we bring over 30 years of craftsmanship and family-owned reliability to every home we visit. Whether you are in Chambersburg, Waynesboro, or Greencastle, our team is ready to provide expert Garage Door Opener Repair and maintenance. We are proud to serve our Pennsylvania community with 24/7 emergency services and a commitment to excellence.
Don't let a faulty sensor leave your home vulnerable. Experience The Benefits of Professional Garage Door Repair and contact us today to ensure your garage door operates smoothly and safely every time.