Why Knowing How to Program a Garage Door Remote Saves You Time and Stress
Learning how to program a garage door remote is simpler than most homeowners expect. Here's a quick overview of the standard process:
- Locate the Learn button on your garage door opener motor unit (usually near the antenna wire).
- Press and release the Learn button — you have about 30 seconds to complete the next step.
- Press and hold the button on your remote until the opener's light flashes or you hear a click.
- Test the remote by pressing it from a normal distance to confirm the door responds.
- Repeat for any additional remotes you want to program.
Most garage door openers made after 1993 follow this same basic process, regardless of brand.
With over 100 million garage doors in use across the United States, and roughly four out of five U.S. housing units including a garage, a working remote isn't a luxury — it's part of daily life. Whether you've lost a remote, moved into a new home, or just added a family member who needs access, getting that remote synced up quickly matters.
This guide walks you through everything: the basics, brand-specific steps, keypad setup, HomeLink vehicle integration, and what to do when things don't go as planned.

Understanding Garage Door Remote Technology
To understand how to sync these devices, it helps to know what is happening behind the scenes. Modern garage door remotes are essentially small radio transmitters. When you press the button, it sends a radio frequency (RF) signal to a receiver located inside the motor unit hanging from your garage ceiling.
In the early days, remotes used "fixed codes" set by manual DIP switches. These were easy to hack because the signal never changed. Today, we use much more secure technology. Most openers manufactured in the last few decades use "rolling codes" (like LiftMaster’s Security+ 2.0 or Genie’s Intellicode). Every time you press the button, the remote and the opener generate a brand-new, unique code out of billions of possibilities. This prevents "code grabbing," where a thief might try to record your signal to open the door later.
Another key technical detail is the frequency. Most systems operate on 315MHz or 390MHz, while newer models use frequency hopping to avoid interference from other devices. If you are struggling with a remote that seems to have a mind of its own, you might find some answers in our guide on Quick Fixes for Remote Control Garage Door Opener Repair.
Essential Preparation for How to Program a Garage Door Remote
Before you climb that ladder, a little preparation goes a long way. We’ve seen many homeowners get frustrated simply because they skipped the "pre-flight" check.
What You'll Need
- A Sturdy Step Ladder: Most motor units are mounted on the ceiling. Ensure your ladder is on level ground.
- Fresh Batteries: Even if the remote is "new," the batteries might have been sitting on a shelf for years. Cold weather, especially in places like Hedgesville or Berkeley Springs, can also weaken battery output.
- The Correct Remote: Not all remotes work with all openers. You need to match the frequency and the technology (e.g., Security+ vs. Security+ 2.0). If you're unsure, check out our Garage Door Remote Replacement Concord PA page for compatibility tips.
- Safety First: Ensure the garage door path is clear of people, pets, and vehicles. Programming involves moving the door to test it, and we want everyone to stay safe.
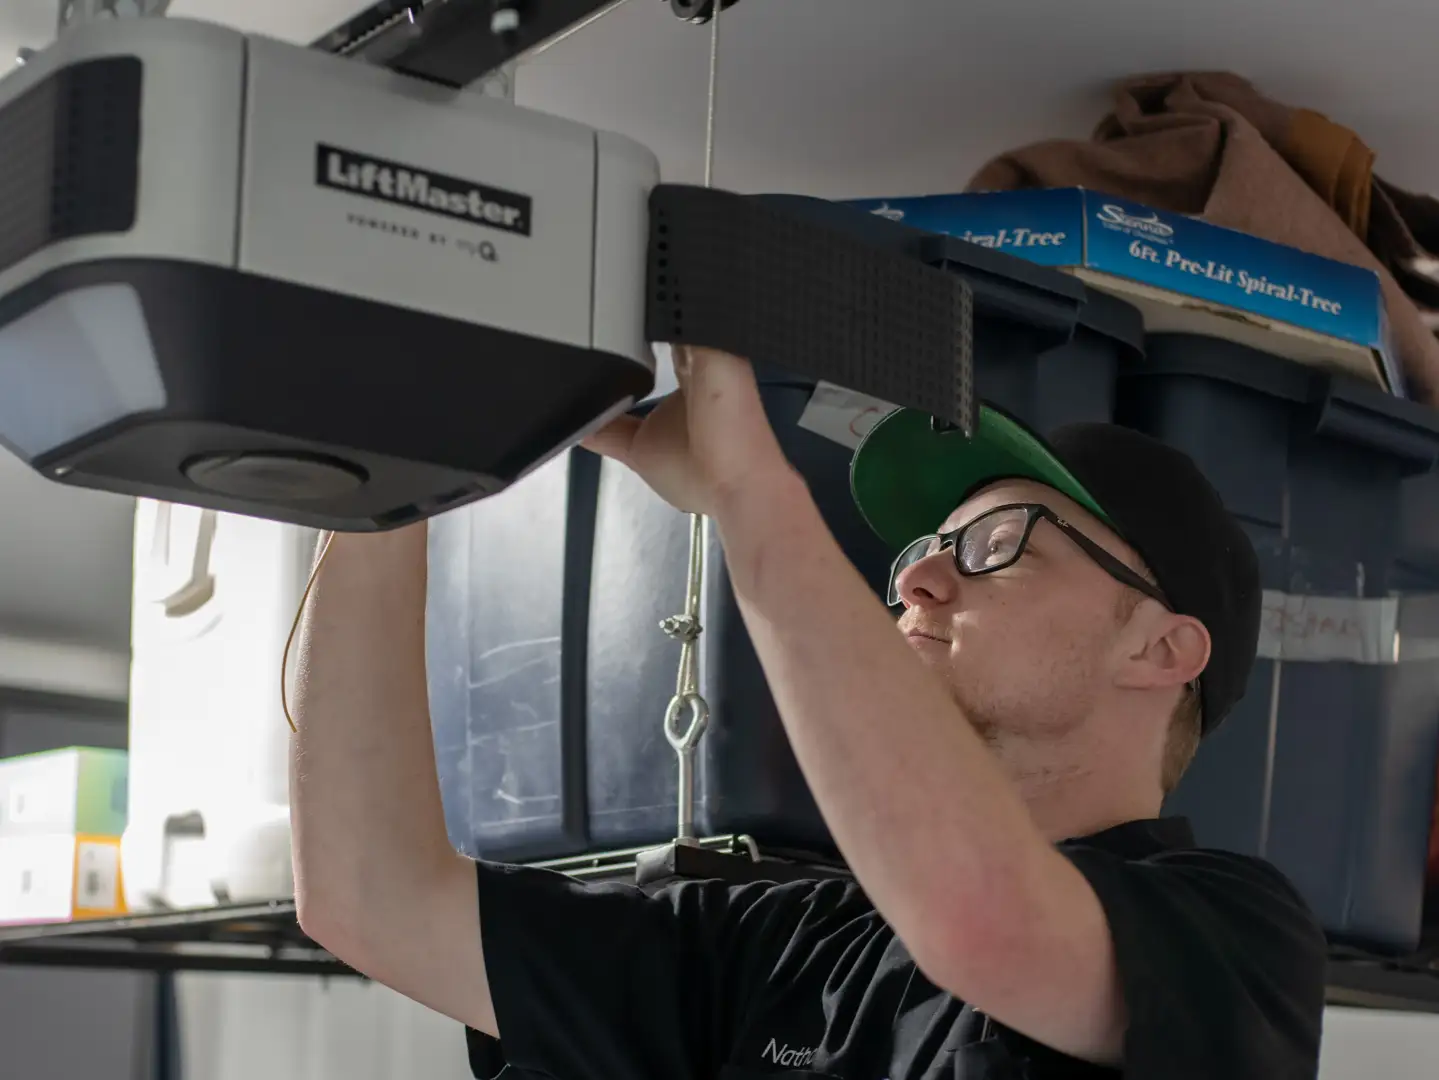
Identifying Your Learn Button
The "Learn" button is the "brain" of your programming operation. It is usually located under the light cover or on the back of the motor unit near the hanging antenna wire. The color of this button tells you a lot about the technology your opener uses.
| Learn Button Color | Technology/Frequency | Common Brands |
|---|---|---|
| Green | Billion Code (390 MHz) | LiftMaster, Sears Craftsman (1993-1995) |
| Red/Orange | Security+ Rolling Code (390 MHz) | LiftMaster, Chamberlain (1997-2005) |
| Purple | Security+ Rolling Code (315 MHz) | LiftMaster, Chamberlain (2005-2014) |
| Yellow | Security+ 2.0 (315/390 MHz) | New LiftMaster, Chamberlain (2011-Present) |
General Step-by-Step Programming Instructions
While brands vary, the "30-second window" is a universal rule. Once you press that Learn button, the opener starts "listening" for a signal, and you have to provide it quickly.
- Enter Programming Mode: Press and immediately release the Learn button on the motor unit. The indicator light next to it will glow steadily (usually for 30 seconds). Do not hold the button down for more than a second or two, as holding it for 6-10 seconds will often erase all your programmed remotes!
- Sync the Remote: Within that 30-second window, press the button on your handheld remote that you wish to use.
- Watch for Confirmation: The garage door opener lights will typically flash twice, or you will hear two clicks. This is the machine saying, "Got it!"
- Test: Wait a few seconds for the programming mode to time out, then press the remote button again. The door should move.
For those living in our service areas like Chambersburg, we have a localized Garage Door Opener Programming Guide Chambersburg PA that offers even more specific local tips.
How to Program a Garage Door Remote for Specific Brands
Every manufacturer likes to be just a little bit different. Here is how to handle the heavy hitters:
LiftMaster and Chamberlain
These brands are essentially the same. They rely heavily on the color-coded Learn button system mentioned above. If you have a multi-button remote, you can program different buttons to different doors if you have a multi-car garage.
Genie and Overhead Door
Genie uses "Intellicode" technology. On many Genie models, you’ll find a "Program" button.
- Press and hold the Program button until the round LED turns blue, then release.
- The long LED will flash purple.
- Press the remote button twice; the LEDs will turn off, indicating success.Overhead Door models like the Odyssey 1000 use a similar "CodeDodger" system. For our neighbors in Jefferson County, check our Garage Door Opener Programming Guide Charles Town WV for brand-specific breakdowns.
Craftsman
Craftsman openers were manufactured by Chamberlain for years, so they usually follow the "Learn Button Color" rules. Look for the colored button on the back of the motor and follow the general steps.
How to Program a Garage Door Remote for Universal Systems
If you have a newer vehicle, you likely have HomeLink—those three buttons usually found on your visor or rearview mirror. This is incredibly convenient because it eliminates the need for a clip-on remote.
- Clear the Car's Memory: Hold the two outer buttons on your car’s HomeLink system until the light flashes rapidly (usually about 20 seconds).
- Train the Car: Hold your handheld remote 1-3 inches away from the HomeLink buttons. Simultaneously press the remote button and the car button you want to program. Hold them until the car's indicator light changes from a slow to a rapid flash.
- The Handshake: Go to the garage motor unit and press the "Learn" button.
- Confirm: Within 30 seconds, return to the car and press the programmed HomeLink button two or three times until the door moves.
This is a common request we see in our Garage Door Opener Programming Big Spring MD service area, especially with the high number of Ford vehicles equipped with this tech.
Programming Keypads and Security Resets
Keypads are a lifesaver when you’re out for a jog or the kids beat you home from school. Programming a keypad is very similar to a remote, but with one extra step: the PIN.
- Press the Learn button on the motor.
- Within 30 seconds, enter your chosen 4-digit PIN on the keypad.
- Press and hold the "Enter" button until the opener lights flash.
The Security Reset
If you’ve recently moved into a home in Ranson or Martinsburg, or if you’ve lost a remote, you should perform a security reset. This wipes the opener’s memory so any lost remotes will no longer work. To reset: Press and hold the Learn button on the motor unit for about 10 seconds until the indicator light goes out. Now, none of your remotes will work, and you’ll need to follow the programming steps above to add back the remotes you still have. This "Remote Control Revolution" is part of modern Wireless Garage Door Installation that prioritizes your family's safety.
Troubleshooting and Professional Maintenance
Sometimes, you follow every step perfectly, and... nothing happens. Don't throw the remote across the driveway just yet! Here are the most common culprits:
- LED Bulb Interference: This is a "May 2026" problem that many people don't realize. Some LED light bulbs emit a radio frequency that "drowns out" your remote's signal. If your remote works when the light is off but fails when it's on, swap the bulb for a "shielded" LED or a standard incandescent bulb.
- The Antenna Wire: On the motor unit, there is a small wire hanging down. This is the antenna. Ensure it isn't tucked up inside the housing or cut. It should hang straight down for the best range.
- Lock Mode: Check your wall-mounted control panel inside the garage. Many have a "Lock" or "Vacation" button. If this was accidentally pressed, it will block all remote signals.
- Cold Weather: In areas like Inwood, extreme cold can cause batteries to struggle. If your remote is finicky on winter mornings, a fresh battery usually solves it. For more in-depth help, see our Fixing Garage Door Remote Issues or the Garage Remote Not Working Inwood Guide.
Frequently Asked Questions about Garage Remotes
Do I need to reprogram my remote after changing the batteries?
Generally, no. Most modern garage door openers use non-volatile memory. This means the opener "remembers" the remote even if the remote loses power for a while. You should be able to pop in a new battery and get back to work immediately.
How many remotes can be programmed to a single opener?
Most modern openers (manufactured after 1993) can store between 8 and 20 different remote codes. This includes handheld remotes, keypads, and vehicle HomeLink systems. If you hit the limit, you may need to clear the memory and start fresh.
Why won't my remote program even with a new battery?
If the battery is fresh and the steps are correct, you might have a frequency mismatch. If you bought a "universal" remote, ensure it supports your specific brand and year. In rarer cases, the logic board inside the motor unit may have failed, often due to a power surge.
Conclusion
Programming your garage door remote is a great DIY skill that keeps your home secure and your daily routine moving smoothly. Whether you are in Shepherdstown, Harpers Ferry, or Falling Waters, these steps should get you back in control of your garage.
At Door Serv Pro, we are proud to be a family-owned business serving West Virginia and the surrounding regions for over 30 years. Our commitment to craftsmanship is matched only by our dedication to the community—from supporting our veterans to contributing to cancer charities. We believe in doing the job right the first time, with a focus on honesty and excellence.
If you’ve tried these steps and your door still isn't responding, or if you suspect your opener needs a professional tune-up, we are here to help. Schedule your professional garage door maintenance today and let our expert team ensure your system is safe, quiet, and reliable for years to come.