Your Garage Door Could Be a Safety Hazard Right Now — Here's How to Know
Knowing how to test your garage door safety features could be the difference between a close call and a real injury. Your garage door weighs anywhere from 150 to over 200 pounds, moves every single day, and operates under serious spring tension. Yet most homeowners in Maryland have never once checked whether the safety systems are actually working.
Here's a quick answer if you need it right now:
How to test your garage door safety features in 5 steps:
- Auto-reverse (contact) test - Place a 2x4 flat on the ground in the door's path and press close. The door must reverse immediately upon contact.
- Photo-eye sensor test - While the door is closing, wave a broomstick through the infrared beam near the sensors (4-6 inches off the ground). The door should stop and reverse instantly.
- Balance test - Pull the red emergency release cord, lift the door manually to waist height, and let go. A balanced door stays in place or moves very slowly.
- Emergency release test - Pull the red cord to disconnect the opener and verify the door opens and closes smoothly by hand.
- Visual sensor check - Confirm both sensor LED lights are solid (not blinking). Blinking lights typically mean misalignment or obstruction.
Federal law has required automatic safety reverse systems on all residential garage door openers manufactured after January 1, 1993, under the UL 325 safety standard. That law exists because a malfunctioning door can crush a person, a pet, or anything else in its path. Still, having the hardware installed is not the same as knowing it works. Dirty lenses, bumped sensors, or worn springs can quietly compromise your system without any obvious warning sign.
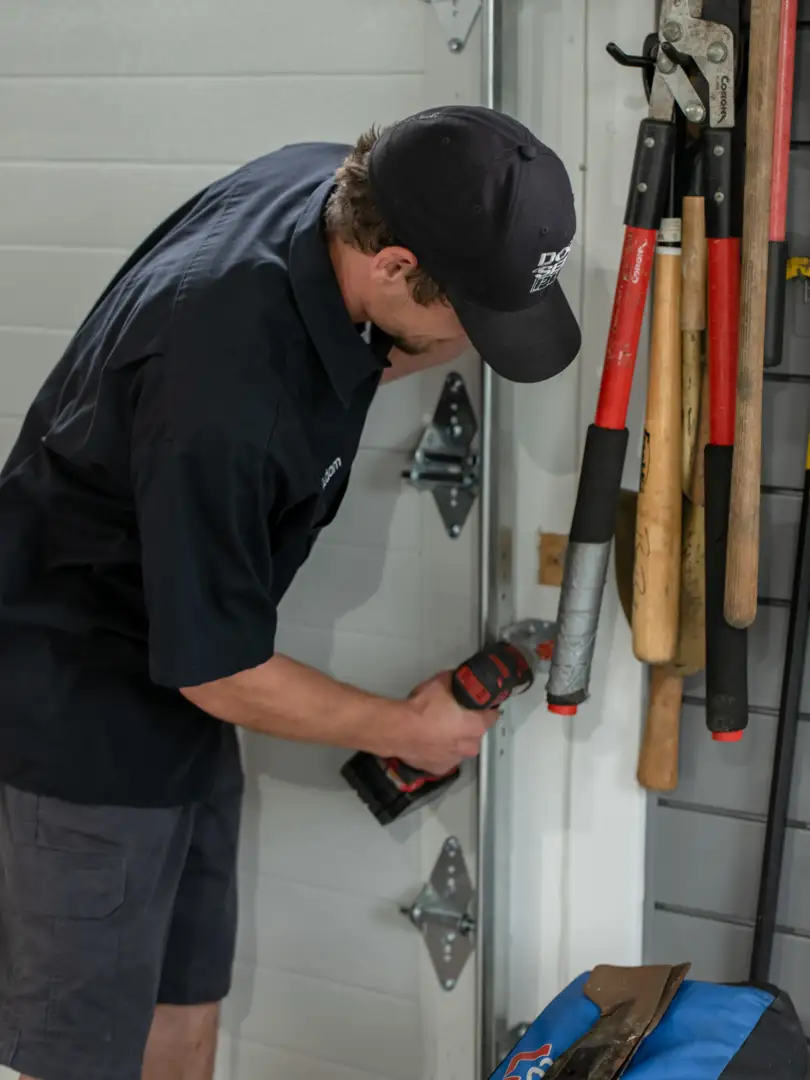
I'm Paul Wiese, founder of Door Serv Pro, and with over 30 years in the garage door industry I've seen how many preventable accidents come down to homeowners simply not knowing how to test their garage door safety features before something goes wrong. In the sections below, I'll walk you through every test step by step so you can check your system with confidence today.

Understanding Modern Garage Door Safety Features
Before we dive into the "how-to," let's look at the "what." Modern garage doors are marvels of engineering, but they are also heavy moving walls. To prevent them from becoming dangerous, several Garage Door Safety Features Every Homeowner Should Know are built into systems manufactured after 1993.
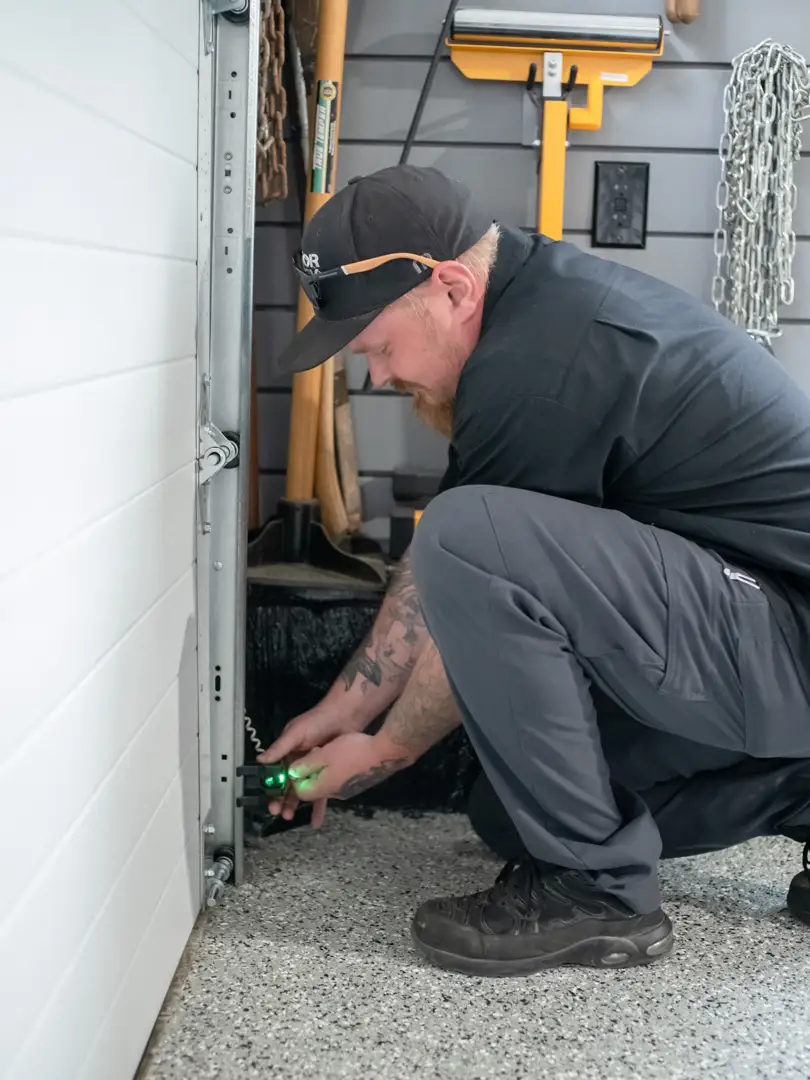
The most visible features are the photo-eye sensors. These are the small, camera-like boxes located about 4 to 6 inches above your garage floor on either side of the door track. They project an invisible infrared beam across the opening. If that beam is broken while the door is closing, the door stops and reverses.
Then there is the auto-reverse mechanism. This is a secondary fail-safe. If the photo-eyes miss something (like a low-profile object) and the door actually makes physical contact with an obstruction, the opener detects the resistance and sends the door back up.
Other essential features include:
- Manual Release Handle: Usually a red cord hanging from the opener rail, allowing you to operate the door by hand during power outages.
- Pinch-Resistant Panels: Specially designed door sections that push fingers out of the way as the door folds, rather than crushing them in the joints.
- Rolling Code Technology: This is a digital safety feature. It changes your remote's access code every time you use it, preventing tech-savvy intruders from "grabbing" your signal to break in.
How to Test Your Garage Door Safety Features: The Auto-Reverse Mechanism
The auto-reverse test is often called the "Contact Test." This checks the force sensitivity of your opener. If your door hits something, does it realize it and stop? Or does it keep pushing with hundreds of pounds of force?
To perform this test, you'll need a solid object, like a 2x4 wood block or a roll of paper towels.
- Open your garage door fully.
- Place the 2x4 flat on the ground in the center of the door's path.
- Press the wall button or remote to close the door.
- Watch closely. As soon as the door makes contact with the wood, it should stop and reverse within two seconds.
If the door hits the object and continues to push, or if it stops but doesn't reverse, your opener is failing a critical safety check. This is often one of the most common Signs Your Garage Door Needs Repair. You should never try to "force" a door to work if it fails this test, as it could lead to the motor burning out or, worse, a serious accident.
How to test your garage door safety features using the interruption method
The interruption method tests your photo-eye sensors without requiring the door to actually hit anything. This is the "non-contact" reversal test.
- Start with the door in the fully open position.
- Activate the door to close.
- While the door is moving downward, wave a long-handled object like a broomstick through the path of the infrared beam (remember, these are 4-6 inches off the ground).
- The door should instantly stop and head back to the open position.
If the door ignores the broomstick and keeps closing, your sensors are likely misaligned, dirty, or have a wiring short. Regular Garage Door Maintenance Ensuring Safety and Functionality of Sensor is the best way to prevent this beam from failing when you need it most.
Why you should know how to test your garage door safety features for balance
A door that is "out of balance" is a ticking time bomb for your opener's motor. Garage doors don't actually move because of the motor's raw strength; they move because the springs do the heavy lifting. If the springs are too tight or too loose, the door is unbalanced.
To check the balance:
- Close the door completely.
- Disconnect the opener by pulling the red emergency release cord.
- Lift the door manually. It should move smoothly with very little effort.
- Lift it to waist height and let go.
A perfectly balanced door will stay in place or move only a few inches. If the door slams shut, the springs have lost their tension. If it flies upward, the tension is too high. An unbalanced door puts massive strain on the opener, leading to premature failure. This is a core part of any Garage Door Safety Check we perform for our neighbors in Hagerstown and Frederick.
Testing Photo-Eye Sensors and Manual Release
Since May 2026 standards require these systems to be in peak condition, you should pay close attention to the LED indicator lights on your sensors. Usually, one sensor (the sender) has a solid amber or orange light, and the other (the receiver) has a solid green light.
If either light is blinking, the "eyes" can't see each other. This is often caused by:
- Misalignment: A trash can or lawn tool bumped the bracket.
- Dirty Lenses: Cobwebs, dust, or Maryland's seasonal pollen can "blind" the sensor. Clean them gently with a soft, damp cloth.
- Sunlight Interference: Sometimes, the bright morning or evening sun can overwhelm the infrared beam. You can actually fix this by making a small "sunshade" out of cardboard for the sensor.
Next, check your emergency release handle. This red cord is your only way out if the power goes out or the motor dies. Pull the cord and ensure it actually disengages the trolley from the drive chain or belt. Then, try to open the door by hand. If it’s stuck or requires Herculean strength, you may have a frayed cable or a seized roller. These mechanical issues are covered extensively in our Garage Door Tune-Up Complete Guide.
Troubleshooting and Maintenance Schedules
Knowing how to test your garage door safety features is half the battle; the other half is knowing how often to do it. We recommend a "Pulse Check" once a month. It takes less than five minutes but provides 30 days of peace of mind.
| Sensor Light Status | Meaning | Required Action |
|---|---|---|
| Both Lights Solid | System is healthy | No action needed. |
| One Light Blinking | Misalignment | Adjust brackets until the light stays solid. |
| One Light Off | No Power / Short Circuit | Check wiring connections or call a pro. |
| Both Lights Off | Opener Power Issue | Check the outlet or circuit breaker. |
In areas like Martinsburg, WV, or Winchester, VA, our weather can be tough on garage hardware. Humidity can cause tracks to shift, and extreme cold can make lubricants gummy. We recommend a professional inspection at least once a year to supplement your monthly home tests. A trained eye can spot a frayed cable or a hairline crack in a torsion spring that a homeowner might miss.
Conclusion
At Door Serv Pro, we take your family's safety seriously. We are a family-owned company with over 25 years of experience, and we’ve spent those decades serving communities from Hagerstown and Smithsburg to Charles Town and Martinsburg. Our NATE-certified technicians don't just "fix doors"—we ensure that every component of your home's largest moving part is operating exactly as the law and safety standards intended.
If you've followed this guide on how to test your garage door safety features and your door failed any of the tests—or if you simply don't feel comfortable performing them yourself—don't wait. A door that won't reverse or a spring that is out of balance is a major hazard. We offer 24/7 emergency availability and a 100% satisfaction guarantee to ensure your home remains a safe haven.
Whether you need a quick sensor alignment or a full Garage Door Maintenance session, we are here to help. Give us a call today, and let’s make sure your garage door is as safe as it is functional.