Why Understanding How Garage Door Safety Sensors Work Could Save a Life
How garage door safety sensors work is simpler than you might think — and understanding it matters more than most homeowners realize.
Quick Answer: How Garage Door Safety Sensors Work
- A transmitter (sending unit) mounted on one side of the door opening fires an invisible infrared beam across to a receiver on the opposite side.
- Both sensors sit roughly 4 to 6 inches off the ground, low enough to detect children, pets, and objects in the door's path.
- As long as the beam is unbroken, the door is allowed to close normally.
- The moment something interrupts the beam, the receiver sends a signal to the motor unit.
- The motor instantly reverses the door — in less than a second — back to the fully open position.
That invisible beam is the only thing standing between a 150 to 400-pound moving door and whatever happens to be underneath it. Since the U.S. government made these sensors mandatory on all new residential garage door openers in 1993, entrapment injuries and fatalities have dropped by more than 90%. That is not a small number — that is the difference between a close call and a tragedy.
Yet most homeowners in West Virginia rarely think about their sensors until something goes wrong. A blinking light, a door that refuses to close, or a sudden reversal for no obvious reason — these are the moments when knowing how this system works becomes genuinely useful.
This guide walks you through everything: the mechanics, the history, the common problems, and exactly what to do when your sensors stop cooperating.

The Mechanics: How Garage Door Safety Sensors Work
At its core, the system acts as an invisible tripwire. It utilizes photoelectric technology, which is a fancy way of saying it uses light to trigger an electrical response. The system consists of two main components: the transmitter (the "sender") and the receiver.
The transmitter converts electricity into a narrow, concentrated beam of infrared light. This light is invisible to the human eye, but it is constantly "shining" across the width of your garage floor. On the other side, the receiver is essentially an electronic eye waiting for that specific wavelength of light.
What makes this system smart is signal modulation. The beam isn't just a "dumb" light like a flashlight; it often pulses at specific frequencies. This prevents the system from being "tricked" by other light sources, such as your car's headlights or a stray flashlight. When that specific modulated signal is broken, the receiver’s internal resistance changes. The control board in your motor detects this voltage change and interprets it as an obstruction.
If you find your Safety Sensor Blocking Garage Door from Closing, it means the system is doing its job. It has detected a break in that "line of sight" and is refusing to let the heavy door descend. This fail-safe design ensures that if the sensors lose power or a wire is cut, the door defaults to staying open rather than risking a closure on an undetected object.
Evolution of Safety: Why Sensors Are Mandatory by Law
It wasn't always this way. In the early days of electric openers—dating back to the first invention by C.G. Johnson in 1926—safety was largely mechanical. If a door hit something, it might stop, but the force required to trigger that reversal was often enough to cause significant injury.
The landscape changed with the 1990 Consumer Product Safety Improvement Act. This legislation led to the UL 325 standard, which mandated that all residential garage door openers manufactured after January 1, 1993, must include a non-contact primary safety device.
Why the strict law? Because a typical residential garage door weighs between 150 and 400 pounds, and some custom wood doors can exceed 500 pounds. Without sensors, that weight becomes a falling hazard. Since 1993, these sensors have reduced entrapment injuries and fatalities by over 90%. We always emphasize these Garage Door Safety Tips because your door is likely the largest and heaviest moving object in your home.
| Feature | Mechanical Sensors (Pre-1993) | Photoelectric Sensors (Post-1993) |
|---|---|---|
| Detection Method | Physical contact/resistance | Invisible infrared beam |
| Safety Level | Moderate (requires impact) | High (prevents impact) |
| Legal Status | Phased out for new installs | Federally Mandated |
| Reaction Speed | Depends on force settings | Instantaneous (under 1 second) |
Common Types of Garage Door Safety Sensors
While the standard "photo-eye" is what you’ll see in 99% of West Virginia homes, there are actually a few different ways to achieve this safety barrier.
- Photo-Eye Sensors (Through-Beam): These are the most common. You have a sender on one side and a receiver on the other. They must be perfectly aligned to "see" each other.
- Retroreflective Units: These use a single sensor unit on one side that bounces a beam off a reflector on the opposite wall. It’s easier to wire (only one side needs a cable), but the reflector must be kept very clean and perfectly angled.
- Safety Edge Sensors: These are pressure-sensitive strips installed along the bottom rubber seal of the door. If the strip touches an object, it compresses and sends a signal to reverse. These are often used as a secondary safety measure in addition to photo-eyes.
- Monitoring Sensors: These don't necessarily stop the door from crushing something, but they alert you if the door is open or closed via a smart home app.
When we provide Tips for Enhancing Home Safety with Garage Door Installation Services, we often recommend a combination of these technologies for maximum protection, especially in homes with active pets or small children.
Troubleshooting and Testing Your Safety System
If your garage door starts acting like a moody teenager—closing halfway and then darting back up—the sensors are the first place to look. Most modern sensors have LED indicator lights that tell a story.
Typically, one sensor (the sender) will have a solid amber or red light, while the other (the receiver) will have a green light. If the green light is flickering or off entirely, the sensors are likely misaligned or dirty.
Common environmental culprits include:
- Sunlight Interference: On bright West Virginia mornings, the sun can actually "blind" the receiving eye if it's shining directly into the lens.
- Condensation: In our humid climate, dew or frost can form on the lens, scattering the infrared beam.
- Spider Webs: A single well-placed web can catch dust and block the beam entirely.
For a deeper dive into why your door might be acting up, check out our Garage Door Not Closing Complete Guide.
Step-by-Step Guide to How Garage Door Safety Sensors Work Testing
We recommend testing your sensors once a month. It only takes two minutes and ensures your "silent guardian" is actually on duty. Here is how we do it:
- The Cardboard Box Test: Open your garage door fully. Place an empty cardboard box (higher than 6 inches) in the path of the door, right between the sensors.
- The Reversal Check: Stand back and press your remote or wall button to close the door. The door should either refuse to move or start to close and then immediately reverse when the sensors "see" the box.
- The 2x4 Wood Block Test: Alternatively, place a flat piece of wood (about 1.5 inches thick) on the floor where the door closes. This tests the mechanical reversal system. If the door hits the wood and doesn't reverse, your force settings need adjustment.
- Visual Inspection: Look for frayed wires or loose mounting brackets.
Following these Garage Door Installation Safety Tips helps keep the entire system in peak condition.
Fixing Malfunctions in How Garage Door Safety Sensors Work
If the test fails or your door is reversing erratically, try these DIY fixes:
- Clean the Lenses: Use a soft, dry microfiber cloth. Avoid harsh chemicals; a little bit of water or mild soap is all you need if they are really grimy.
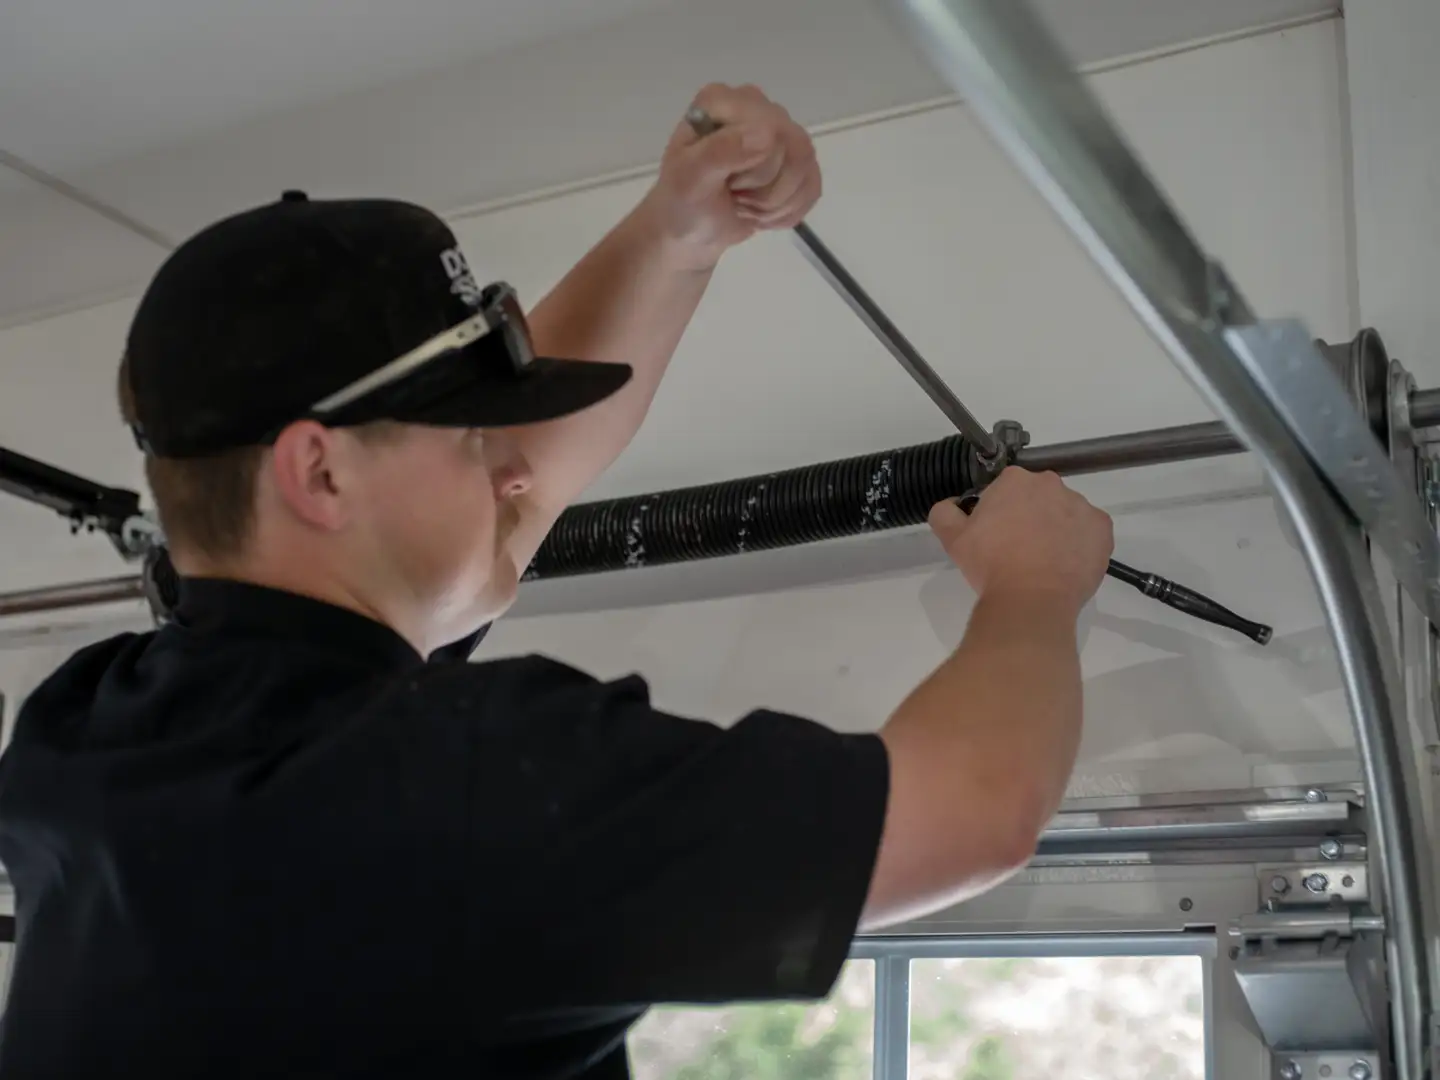
- Check Alignment: If the lights are blinking, gently loosen the wing nut on the bracket and nudge the sensor until the light glows solid. You can even use a laser level or a simple string to ensure they are pointing directly at each other.
- Tighten the Brackets: Vibrations from the door opening and closing can loosen the screws over time. Make sure the brackets are firm.
- Inspect the Wires: Look for "staple pinches" where the wire might have been crimped too hard against the wall, or places where a weed whacker or stray shovel might have nicked the insulation.
Maintaining these components is a key part of our Essential Garage Door Security Tips 2026.
Frequently Asked Questions about Garage Door Sensors
What do garage door safety sensors look like?
They are small, usually black, rectangular boxes about the size of a deck of cards. They are mounted on metal brackets on the left and right sides of the garage door tracks, usually 4 to 6 inches above the floor. You will see a small lens on the front and one or two wires coming out of the back leading up to the motor.
Can sunlight interfere with my garage door sensors?
Yes! This is a very common issue in the summer. If the sun hits the receiver lens at just the right angle, it "overwhelms" the infrared signal. You can often fix this by swapping the sender and receiver units (moving the receiver to the "shadier" side of the garage) or by fashioning a small "sun shield" out of a piece of cardboard or a toilet paper roll to shade the lens.
When should I call a professional for sensor repairs?
If you've cleaned and aligned the sensors and the door still won't close, you might have a deeper issue. Frayed wiring inside the walls, a failing logic board in the motor unit, or sensors that have been physically smashed by a car bumper usually require professional attention. If you see no lights on the sensors at all even after checking the power, it's time to call in the experts. You can find more info about garage door services on our main service page.
Conclusion
At Door Serv Pro, we’ve spent over 30 years serving the West Virginia community, from Berkeley Springs to Shepherdstown and everywhere in between. We’ve seen how a simple pair of $40 sensors can prevent thousands of dollars in property damage—or much worse, a tragic injury.
As a family-owned business, we take pride in our craftsmanship and our commitment to safety. Whether we are helping a veteran in Martinsburg or a young family in Charles Town, our goal is to ensure that every garage door we touch is a safe one. Don't take your safety sensors for granted; give them a quick wipe and a test this weekend. If you run into trouble, we're here to help with the expertise that only three decades of experience can provide.
For more information on staying safe, read our guide on Ensuring Safety: Garage Door Installation Tips and Precautions.